
【我和openGauss的故事】openGauss 5.0 单节点安装部署与使用
1.环境准备1.1 安装依赖包文件...
1.环境准备
1.1 安装依赖包文件
[root@localhost ~]# yum install libaio-devel flex bison ncurses-devel glibc-devel patch redhat-lsb-core readline-devel libnsl
1.2 关闭selinux和防火墙
vim /etc/selinux/config
修改config文件,将SELINUX的值变为"disabled" 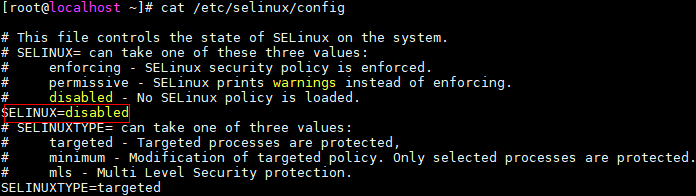
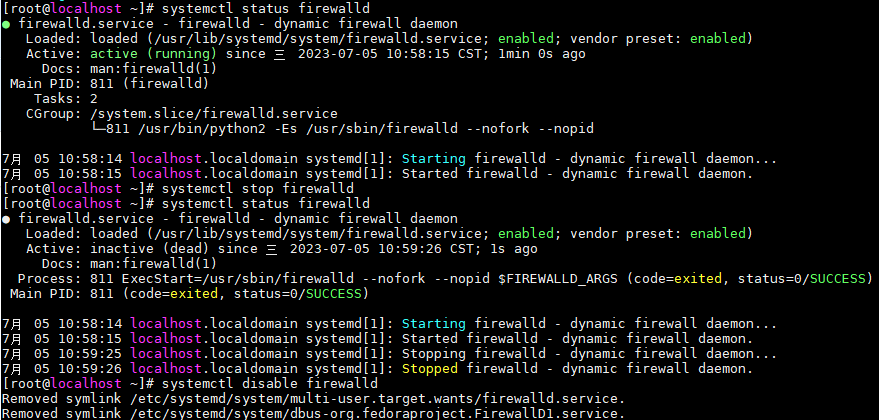
检测防火墙是否关闭
systemctl status firewalld
systemctl stop firewalld
systemctl disable firewalld
1.3 设置字符集参数
v im /etc/profile在行尾添加
export LANG=en_US.UTF-8
1.4 关闭swap
swapoff -a (当内存较小时,可打开)
1.5 关闭RemoveIPC
(因为使用的环境为CentOS,默认关闭) 
2.安装
2.1 创建工作用户和目录
[root@localhost opt]# useradd opengauss
[root@localhost opt]# mkdir -p /opt/opengauss
2.2 解压压缩包到安装目录、对目录授权并进行安装
[root@localhost tmp]# tar -jxf openGauss-5.0.0-CentOS-64bit.tar.bz2 -C /opt/opengauss
[root@localhost tmp]# cd /opt/opengauss/
[root@localhost opengauss]# chmod 755 -R /opt/opengauss
[root@localhost opengauss]# chown -R opengauss /opt/opengauss
[root@localhost opengauss]# sudo -iu opengauss
[opengauss@localhost ~]$ cd /opt/opengauss/simpleInstall
[opengauss@localhost simpleInstall]$ sh install.sh -w "52@openGauss" &&source ~/.bashrc
(注意:如果出现这种错误,请使用拥有root权限的用户执行 sysctl -w kernel.sem="250 85000 250 330" 即可) 
2.3 检查进程,判断数据库是否启动
[opengauss@localhost ~]$ ps -ef | grep gauss
opengau+ 4946 1 3 11:20 ? 00:08:09 /opt/opengauss/bin/gaussdb -D /opt/opengauss/data/single_node
root 10843 3518 0 14:04 pts/0 00:00:00 sudo -iu opengauss
root 19289 3846 0 15:50 pts/1 00:00:00 sudo -iu opengauss
opengau+ 19387 19291 0 15:51 pts/1 00:00:00 grep --color=auto gauss
也可以使用 gs_ctl status 命令,判断数据库状态:
[opengauss@localhost ~]$ gs_ctl status
[2023-07-05 15:53:37.581][19531][][gs_ctl]: gs_ctl status,datadir is /opt/opengauss/data/single_node
gs_ctl: server is running (PID: 4946)
/opt/opengauss/bin/gaussdb "-D" "/opt/opengauss/data/single_node"
2.4 使用 gs_ctl notify 查看数据文件目录
[opengauss@localhost ~]$ gs_ctl notify
[2023-07-05 16:00:42.972][20104][][gs_ctl]: gs_ctl notify ,datadir is /opt/opengauss/data/single_node
[2023-07-05 16:00:42.973][20104][][gs_ctl]: the parameter of notify must be specified
3.日常使用
3.1 查看版本信息
可以使用 select version() 查看数据库版本,使用 show server_version 查看pg基础版本 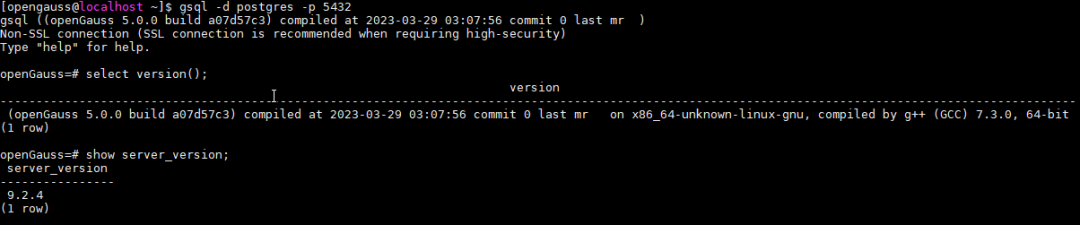
3.2 常用命令
\l 查看当前有哪些数据库
\c 查看当前会话连接信息
\db 查看有哪些表空间
\du 查看用户和角色
\dn 查看当前数据库有哪些schema
\dt 查看数据库中所有表 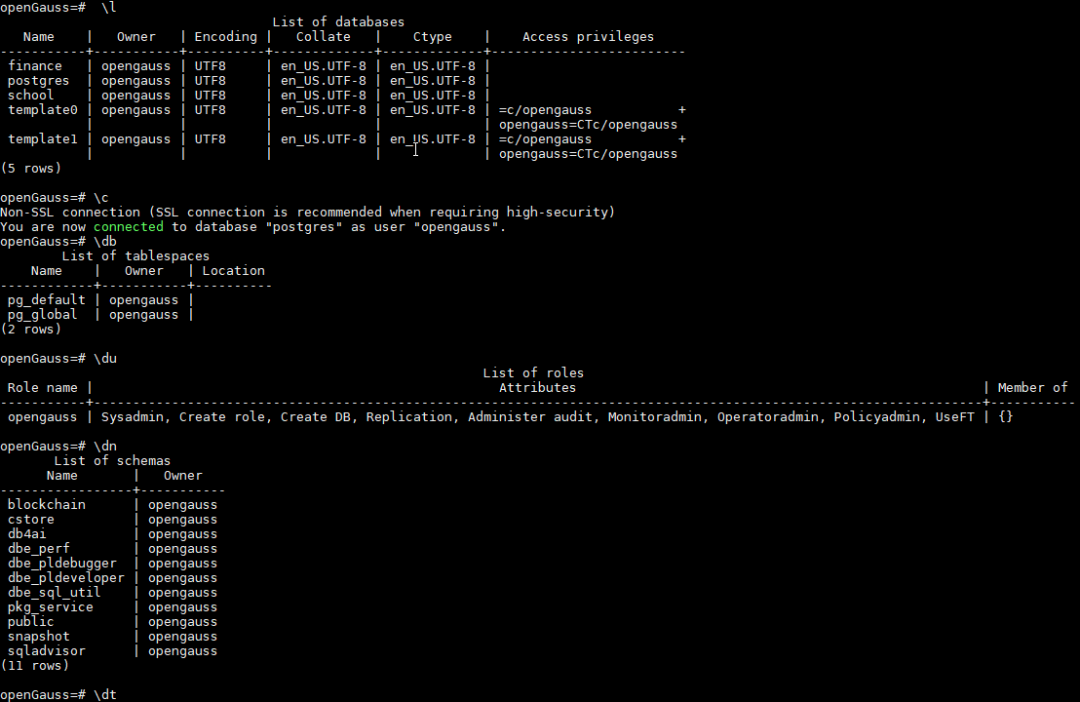
3.3 创建用户并授予权限
openGauss=# CREATE USER test1 IDENTIFIED BY 'opengauss@2023';
CREATE ROLE
openGauss=# ALTER USER test1 CREATEROLE;
ALTER ROLE

3.4 创建表并插入数据
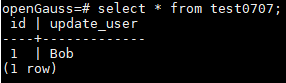
openGauss=# create table test0707(id CHAR(2) NOT NULL,update_user VARCHAR(20) NOT NULL);
CREATE TABLE
openGauss=# insert into test0707(id,update_user) values(1,'Bob');
INSERT 0 1
3.5 创建模式
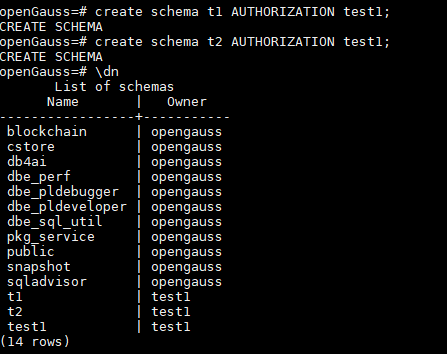
创建了两个schema
openGauss=# create schema t1 AUTHORIZATION test1;
CREATE SCHEMA
openGauss=# create schema t2 AUTHORIZATION test1;
CREATE SCHEMA
在不同schema下创建表名均为test01的表,插入不同数据
openGauss=# create table t1.test01(id CHAR(2) NOT NULL,update_user VARCHAR(20) NOT NULL);
CREATE TABLE
openGauss=# insert into t1.test01(id,update_user) values(2,'Tom');
INSERT 0 1
openGauss=# create table t2.test01(id CHAR(2) NOT NULL,update_user VARCHAR(20) NOT NULL);
CREATE TABLE
openGauss=# insert into t2.test01(id,update_user) values(3,'Nancy');
INSERT 0 1
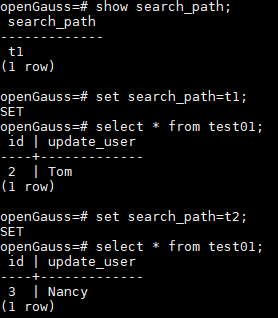
通过结果可以看出,不切换对应schema,是无法进行查看其他schema的内容
尾语
本文简单描述了openGauss的安装与使用,可供初学者进行参考,希望openGauss越做越好
本文分享自微信公众号 - openGauss(openGauss)。
如有侵权,请联系 support@oschina.cn 删除。
本文参与“ OSC源创计划 ”,欢迎正在阅读的你也加入,一起分享。

鲲鹏昇腾开发者社区是面向全社会开放的“联接全球计算开发者,聚合华为+生态”的社区,内容涵盖鲲鹏、昇腾资源,帮助开发者快速获取所需的知识、经验、软件、工具、算力,支撑开发者易学、好用、成功,成为核心开发者。
更多推荐

 0
0 0
0- 0


 已为社区贡献360条内容

所有评论(0)