
LAMP-wordpress部署
两台虚拟机,欧拉系统虚拟机IPWordpress软件包下载地址:部署。
实验准备
两台虚拟机,欧拉系统
虚拟机IP
192.168.1.200
192.168.1.201
Wordpress软件包
下载地址:https://cn.wordpress.org/download/
部署
1、安装Apache/MySQL
Apache和MySQL单独部署在两台虚拟机上
我这里统一源码安装
192.168.1.200
安装php-mysqlnd用于连接MySQL和PHP
安装MySQL客户端,用于连接MySQL服务端
dnf -y install httpd php php-mysqlnd mysql
192.168.1.201
安装MySQL服务端
dnf -y install mysql mysql-server
2、Apache连接PHP
192.168.1.200
vim /etc/httpd/conf/httpd.conf
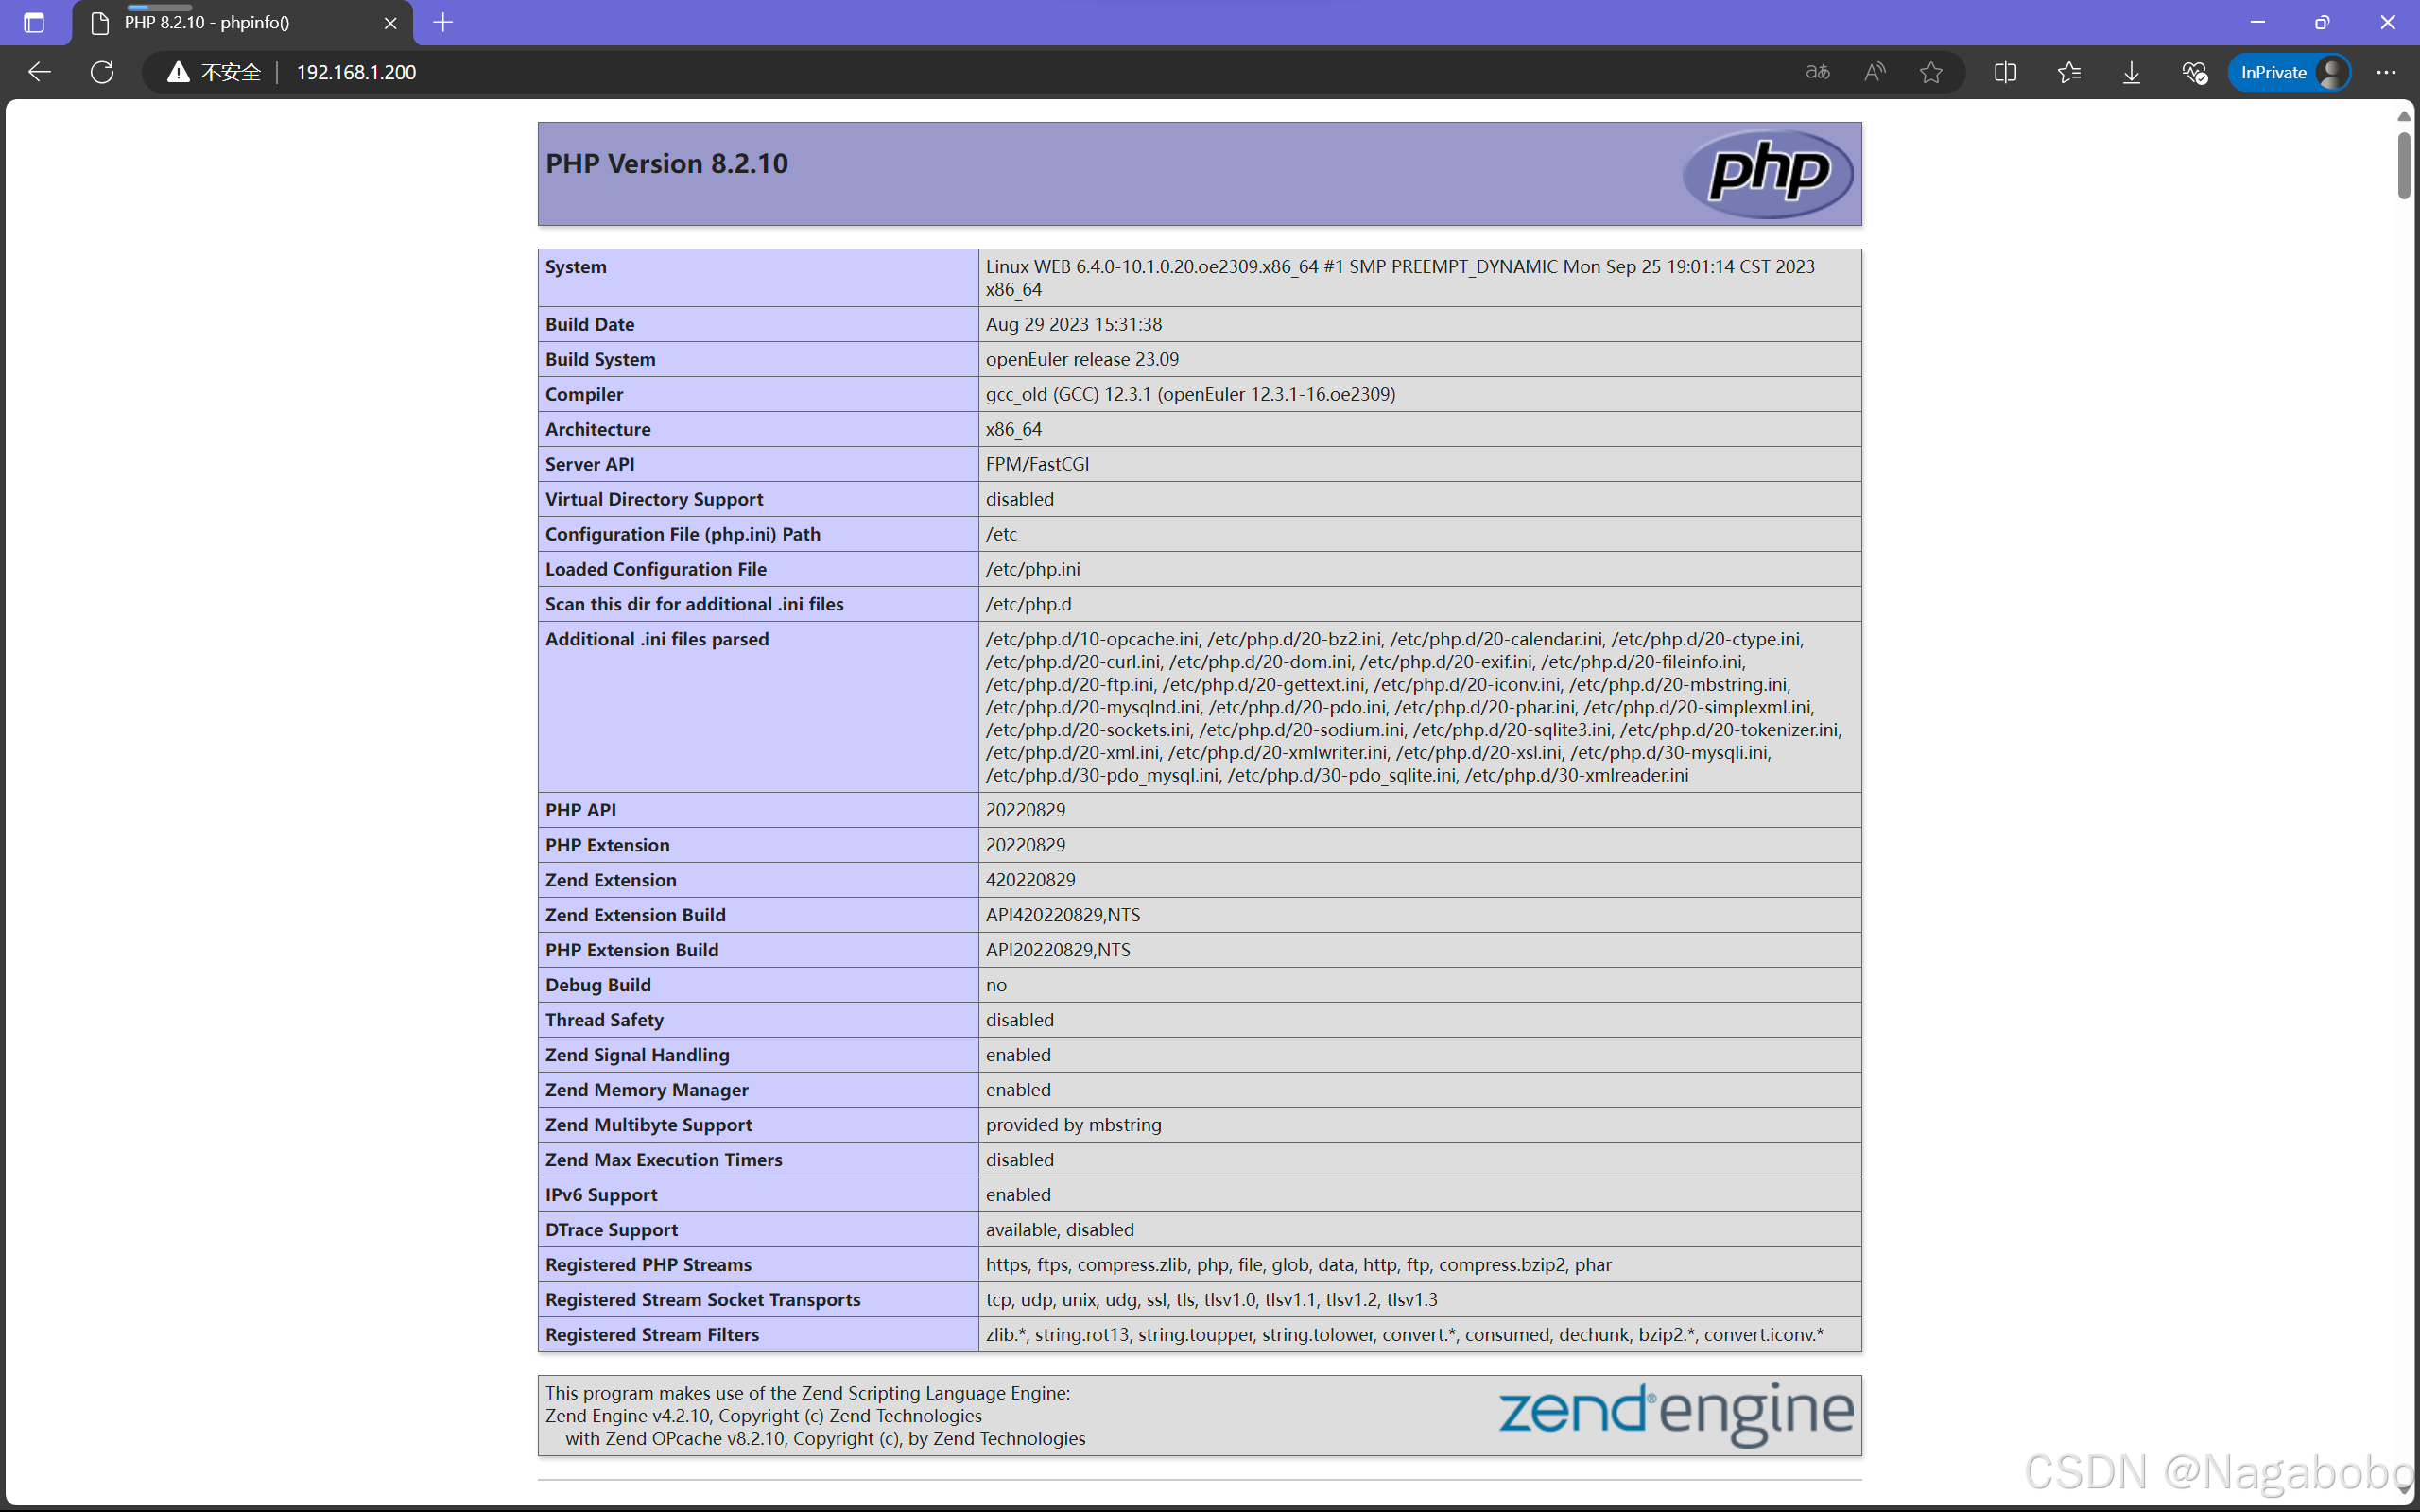
287 AddType application/x-httpd-php .php #调用apache的模块,类型声明,处理以.php结尾的文件PHP测试页面
cd /var/www/html/
vim index.php

<?php
    phpinfo();
?>

systemctl start httpd
访问Apache的IP地址,看到PHP的信息,即Apache与php连接成功。
3、MySQL连接PHP
192.168.1.201
#MySQL5.7以上版本,首次登录MySQL需要给root用户设置密码
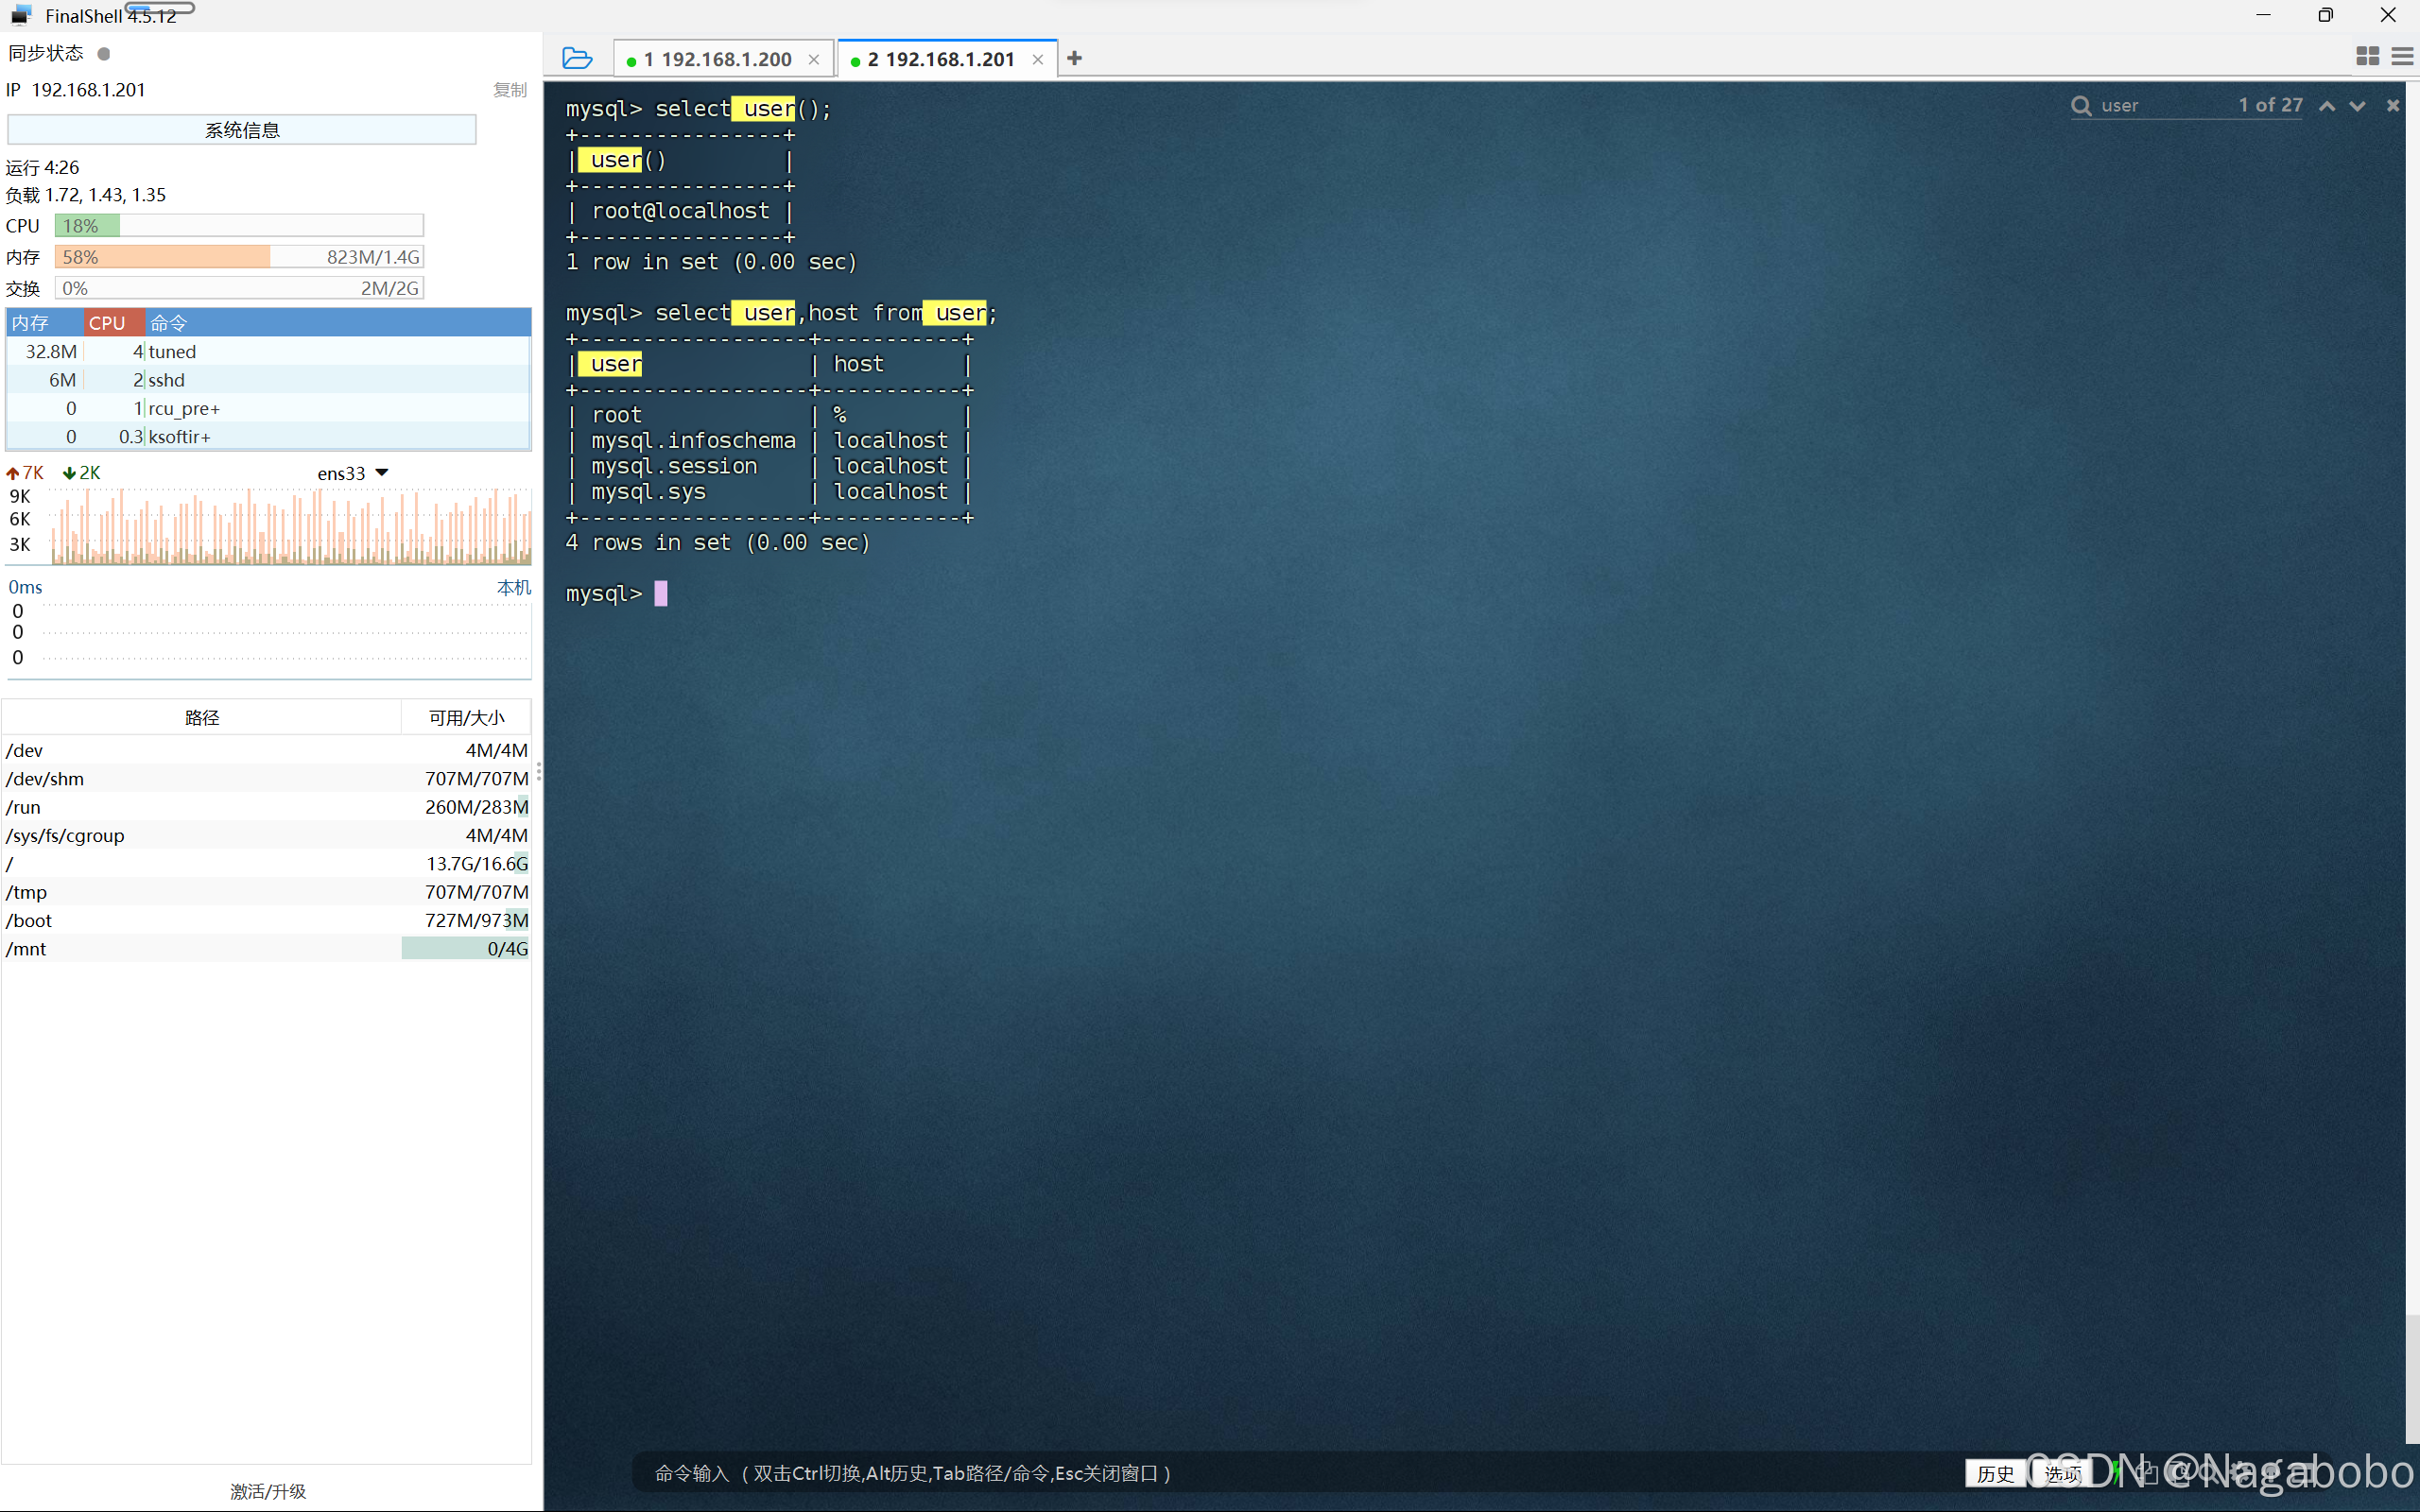
use mysql
update user set Host='%' where User='root';
alter user 'root'@'%' identified with mysql_native_password by 'mysql123';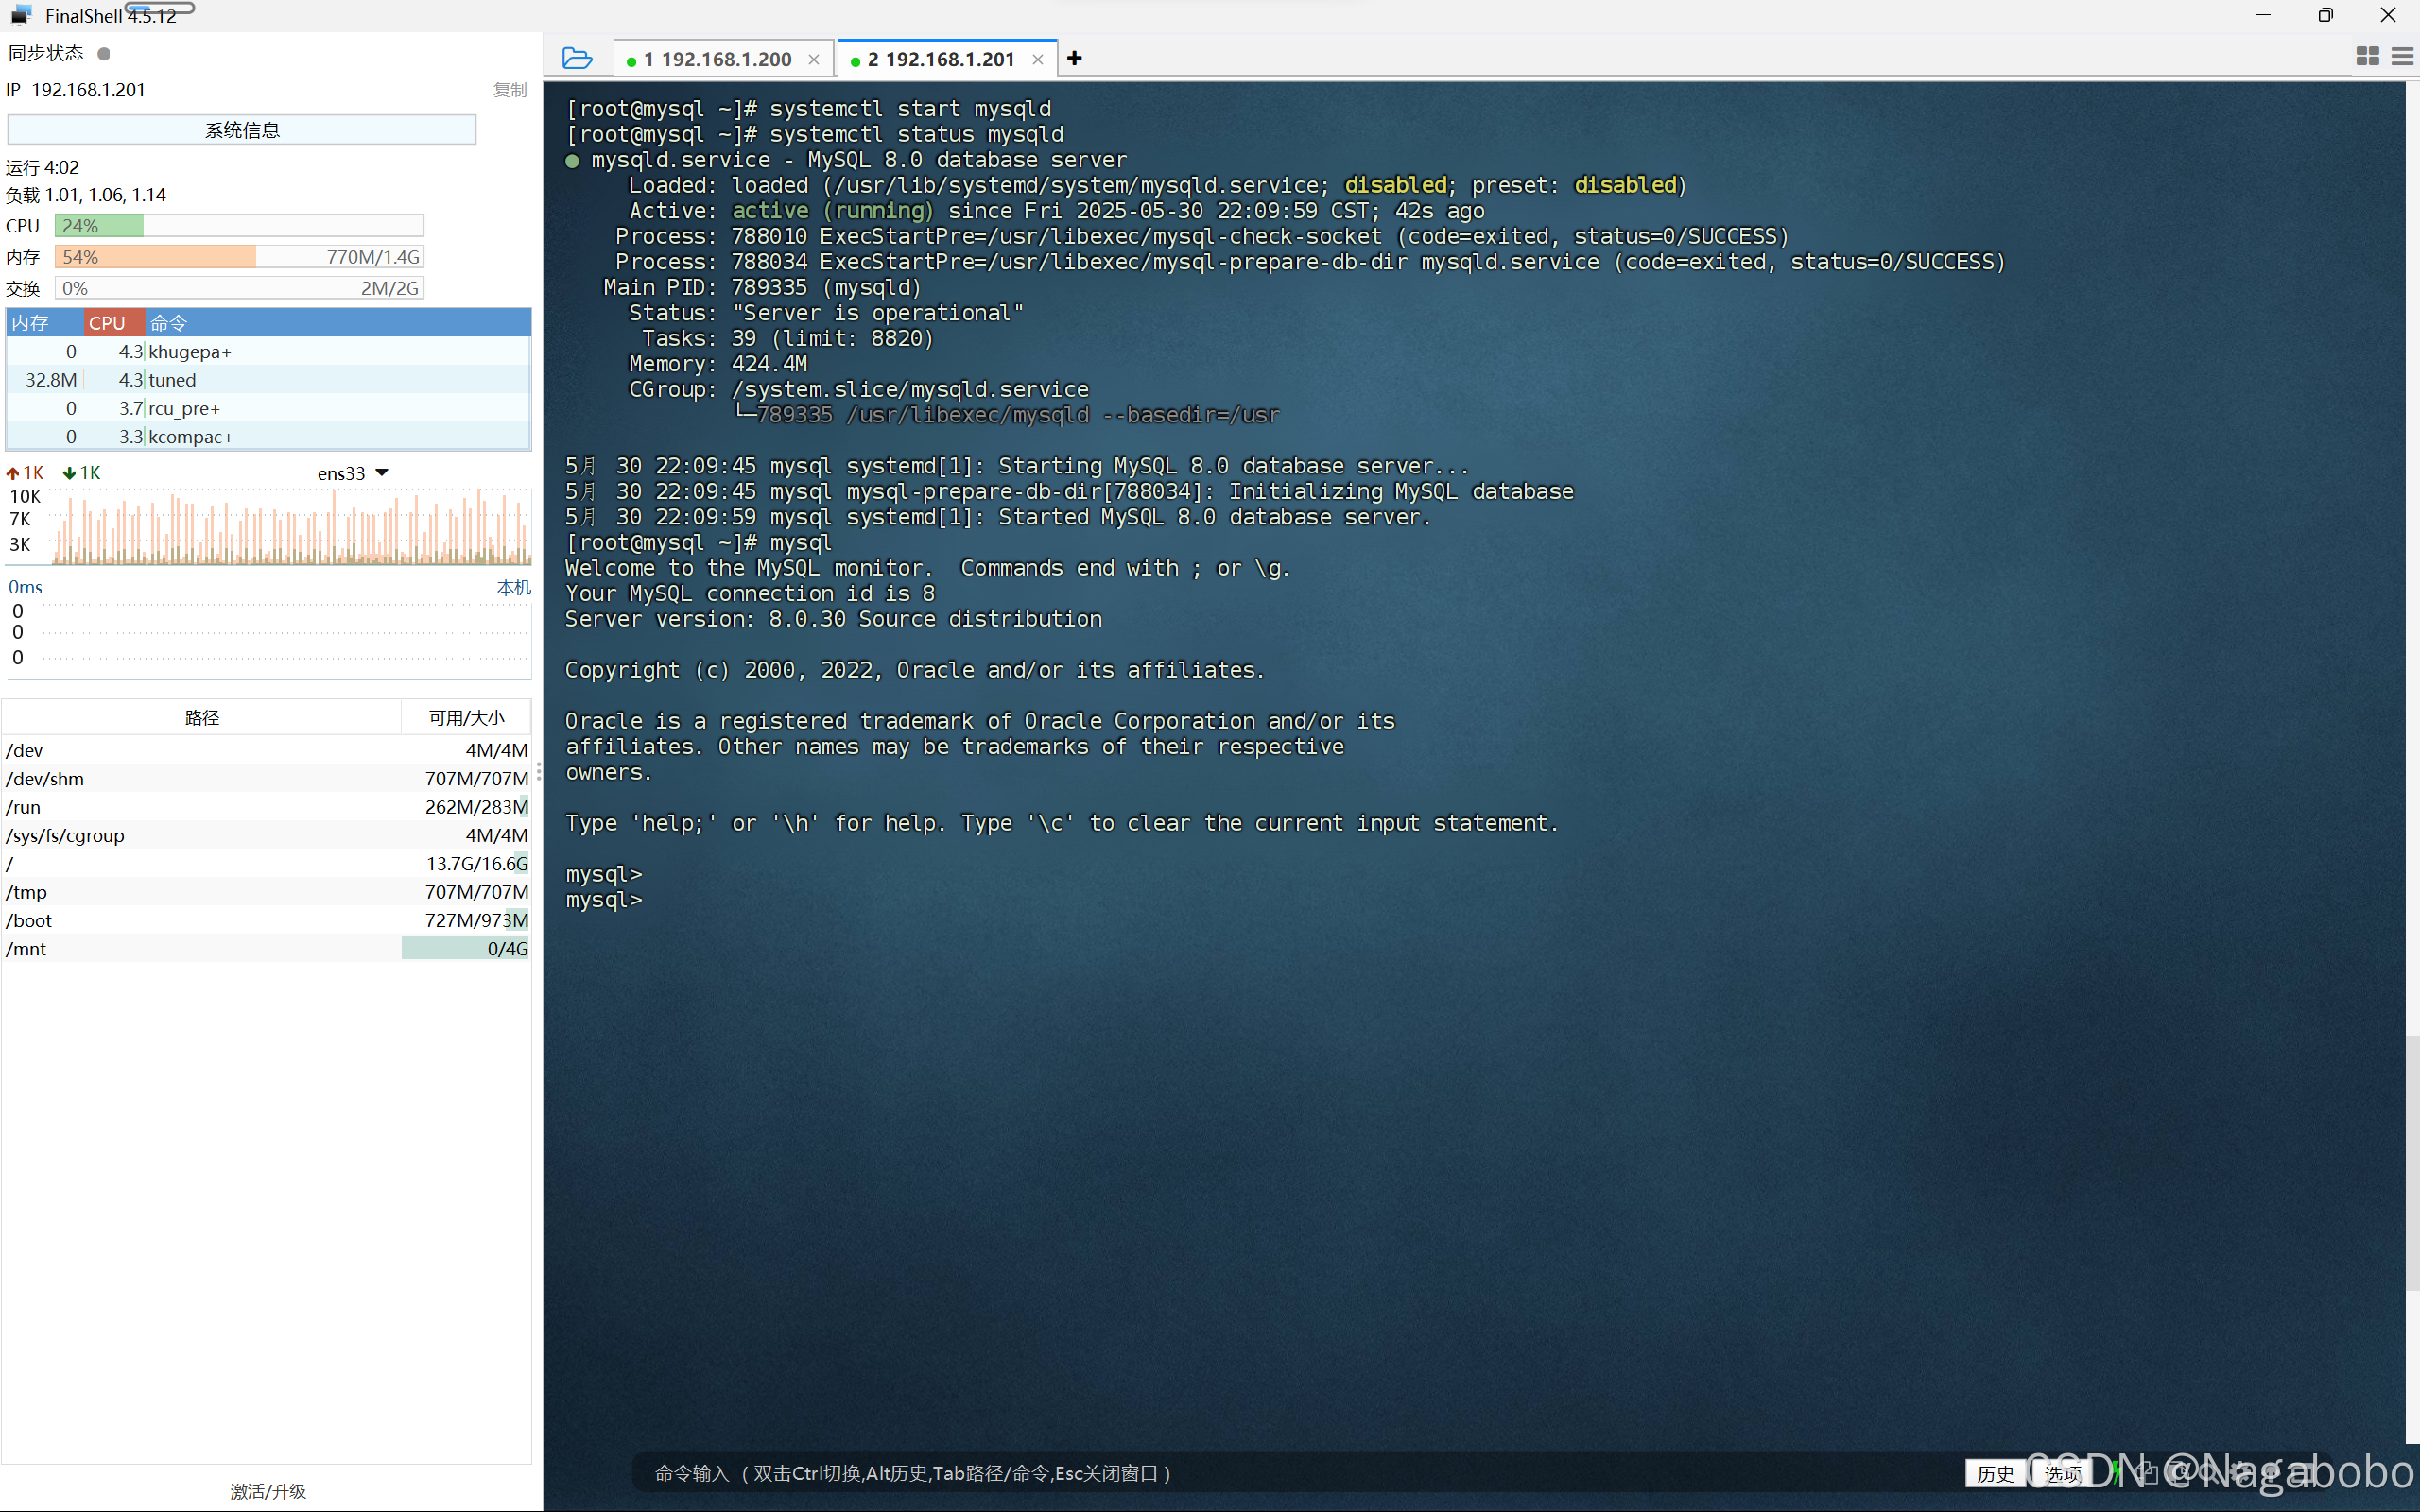
MySQL测试页面
192.168.1.200
cd /var/www/html/
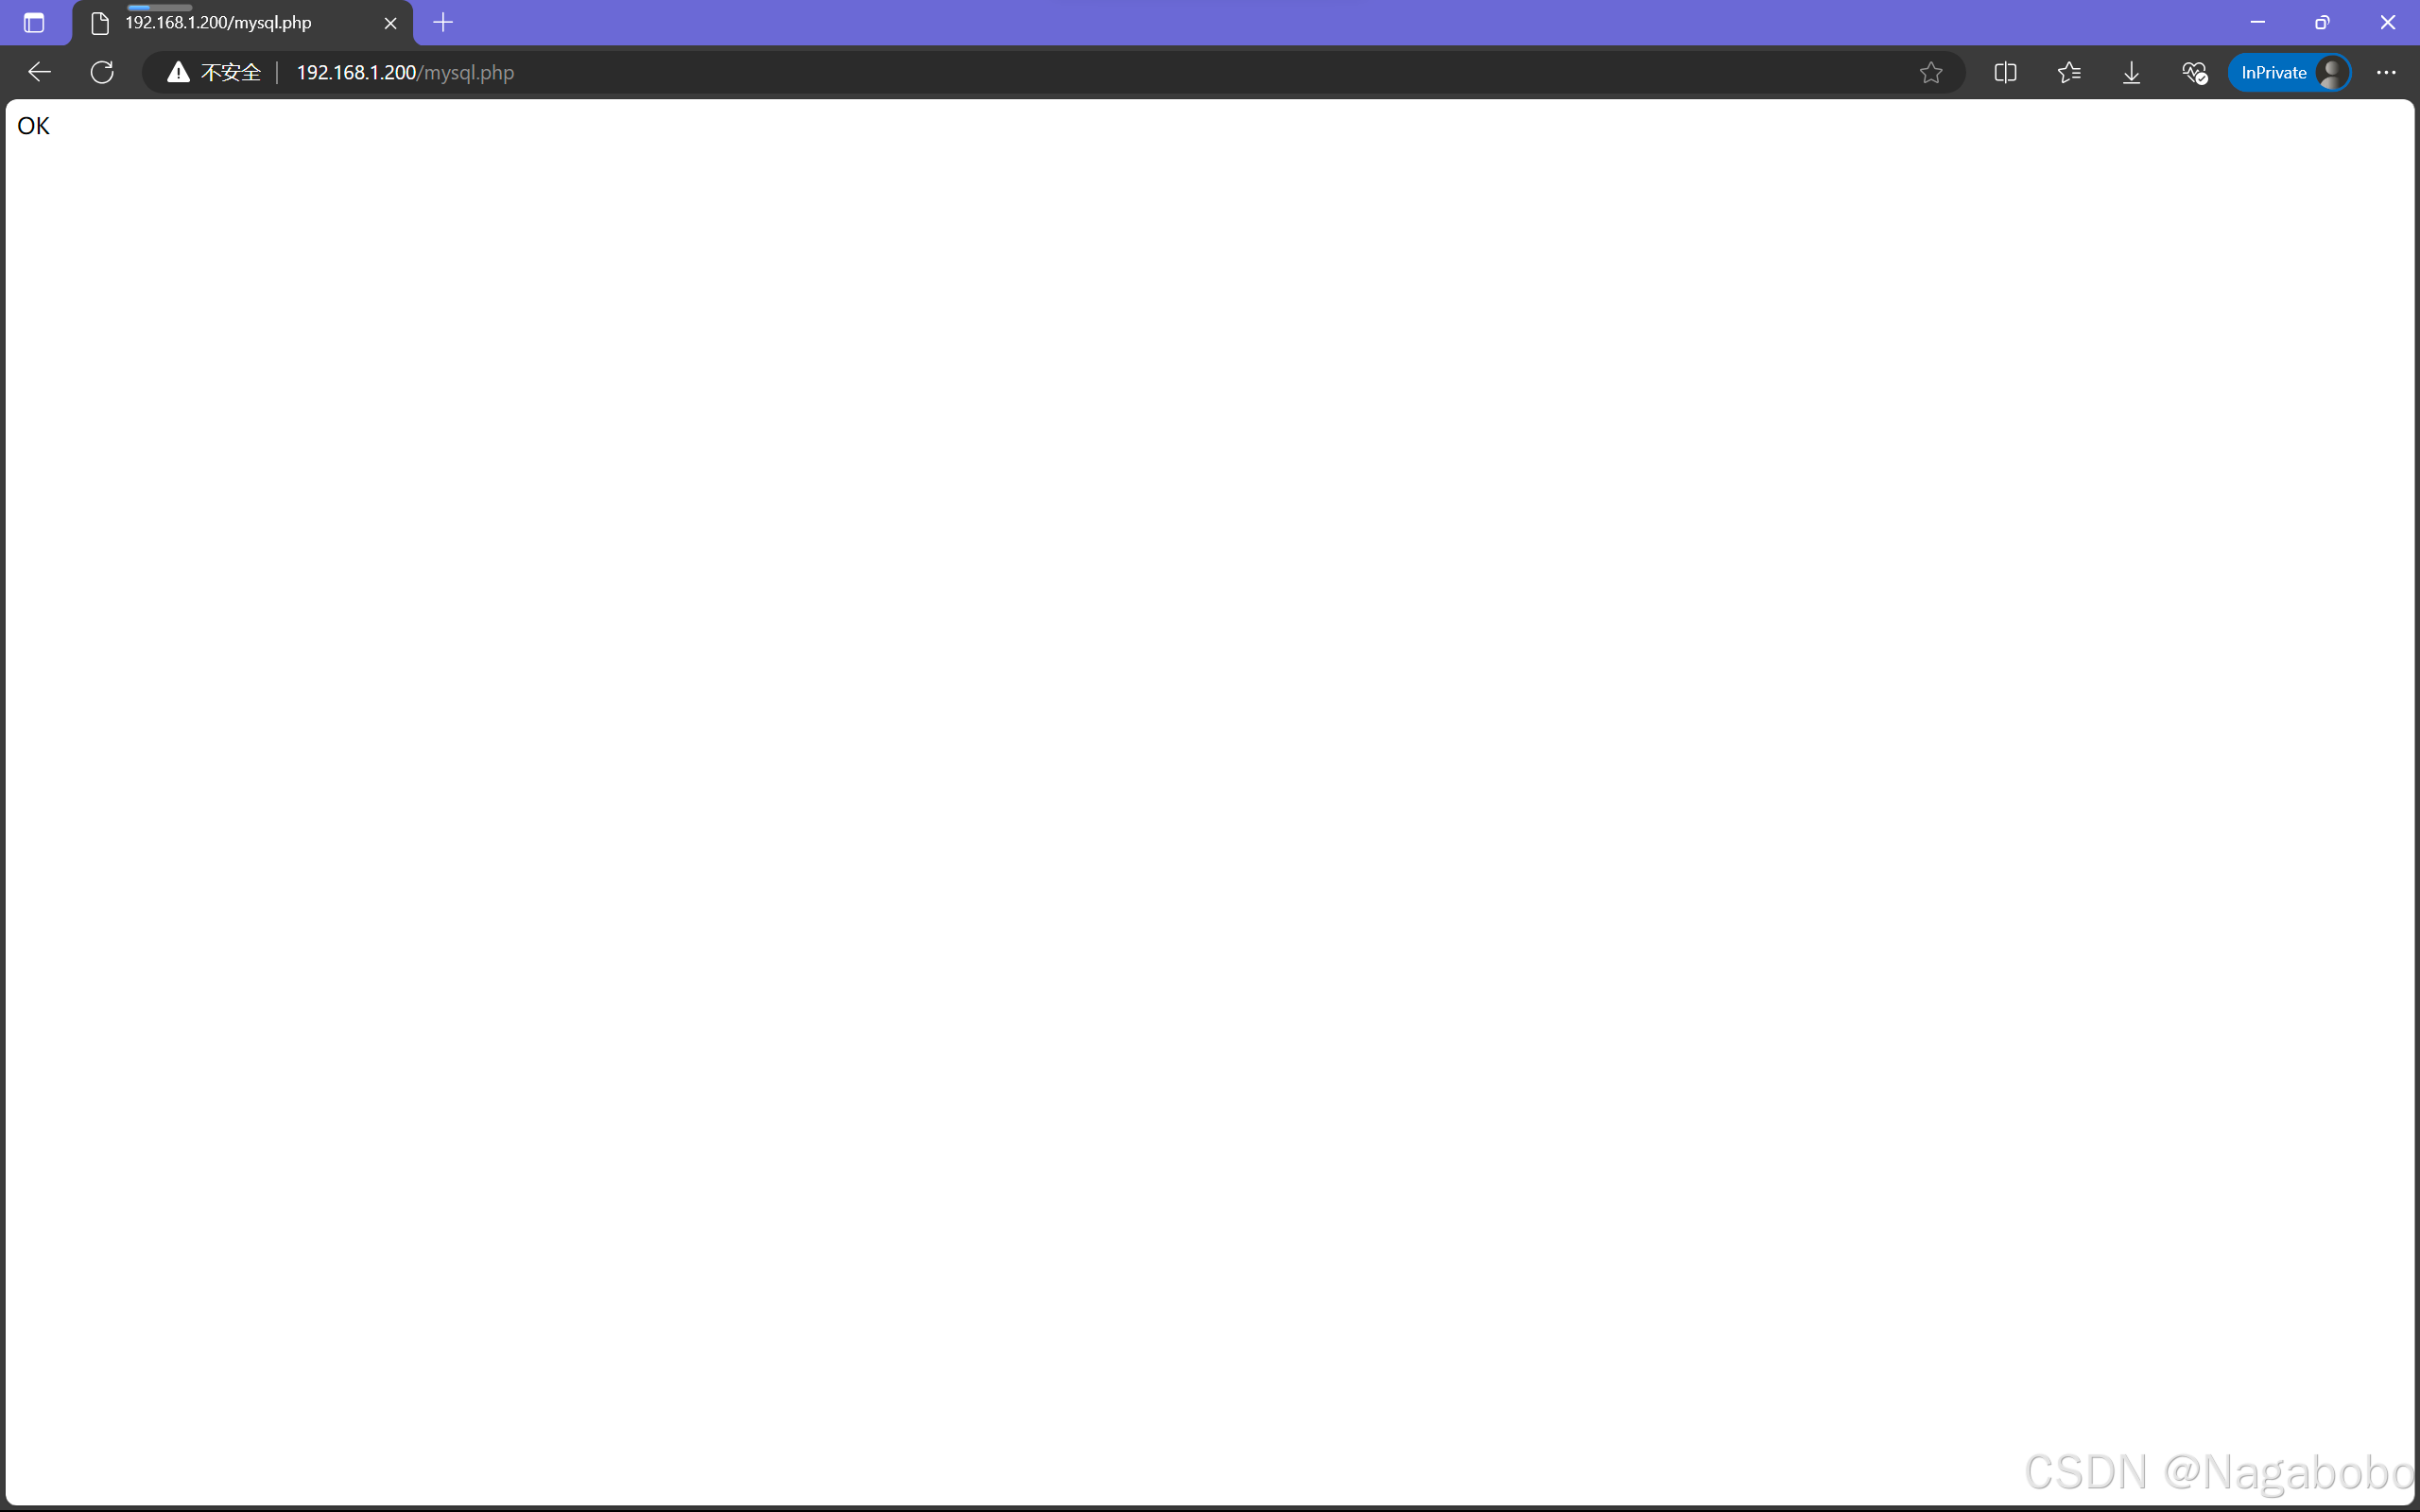
vim mysql.php
<?php
$con = mysqli_connect("192.168.1.201","root","mysql123");
if($con)
echo 'OK';
else
echo 'Not OK';
$con->close();
?>
systemctl restart httpd #重启服务访问Apache的IP/mysql.php,看到OK表示连接成功。
4、安装WordPress
192.168.1.200

unzip wordpress-6.8.1.zip

4.1虚拟主机
cd /etc/httpd/conf.d/
vim /etc/httpd/conf.d/vhosts.conf       #子配置文件

<VirtualHost 192.168.1.200>             #IP地址
        DocumentRoot "/wordpress"       #页面位置
        ServerName www.wordpress.com    #域名
        <Directory "/wordpress">
                AllowOverride None
                require all granted
        </Directory>
</VirtualHost>

vim /etc/httpd/cnof/httpd.conf         #主配置文件
Include /etc/httpd/conf.d/*.conf


systemctl restart httpd                #重启服务
4.2本地域名解析
Windows本地域名解析文件:C:\Windows\System32\drivers\etc\hosts
以管理员省份允许记事本,打开文件。
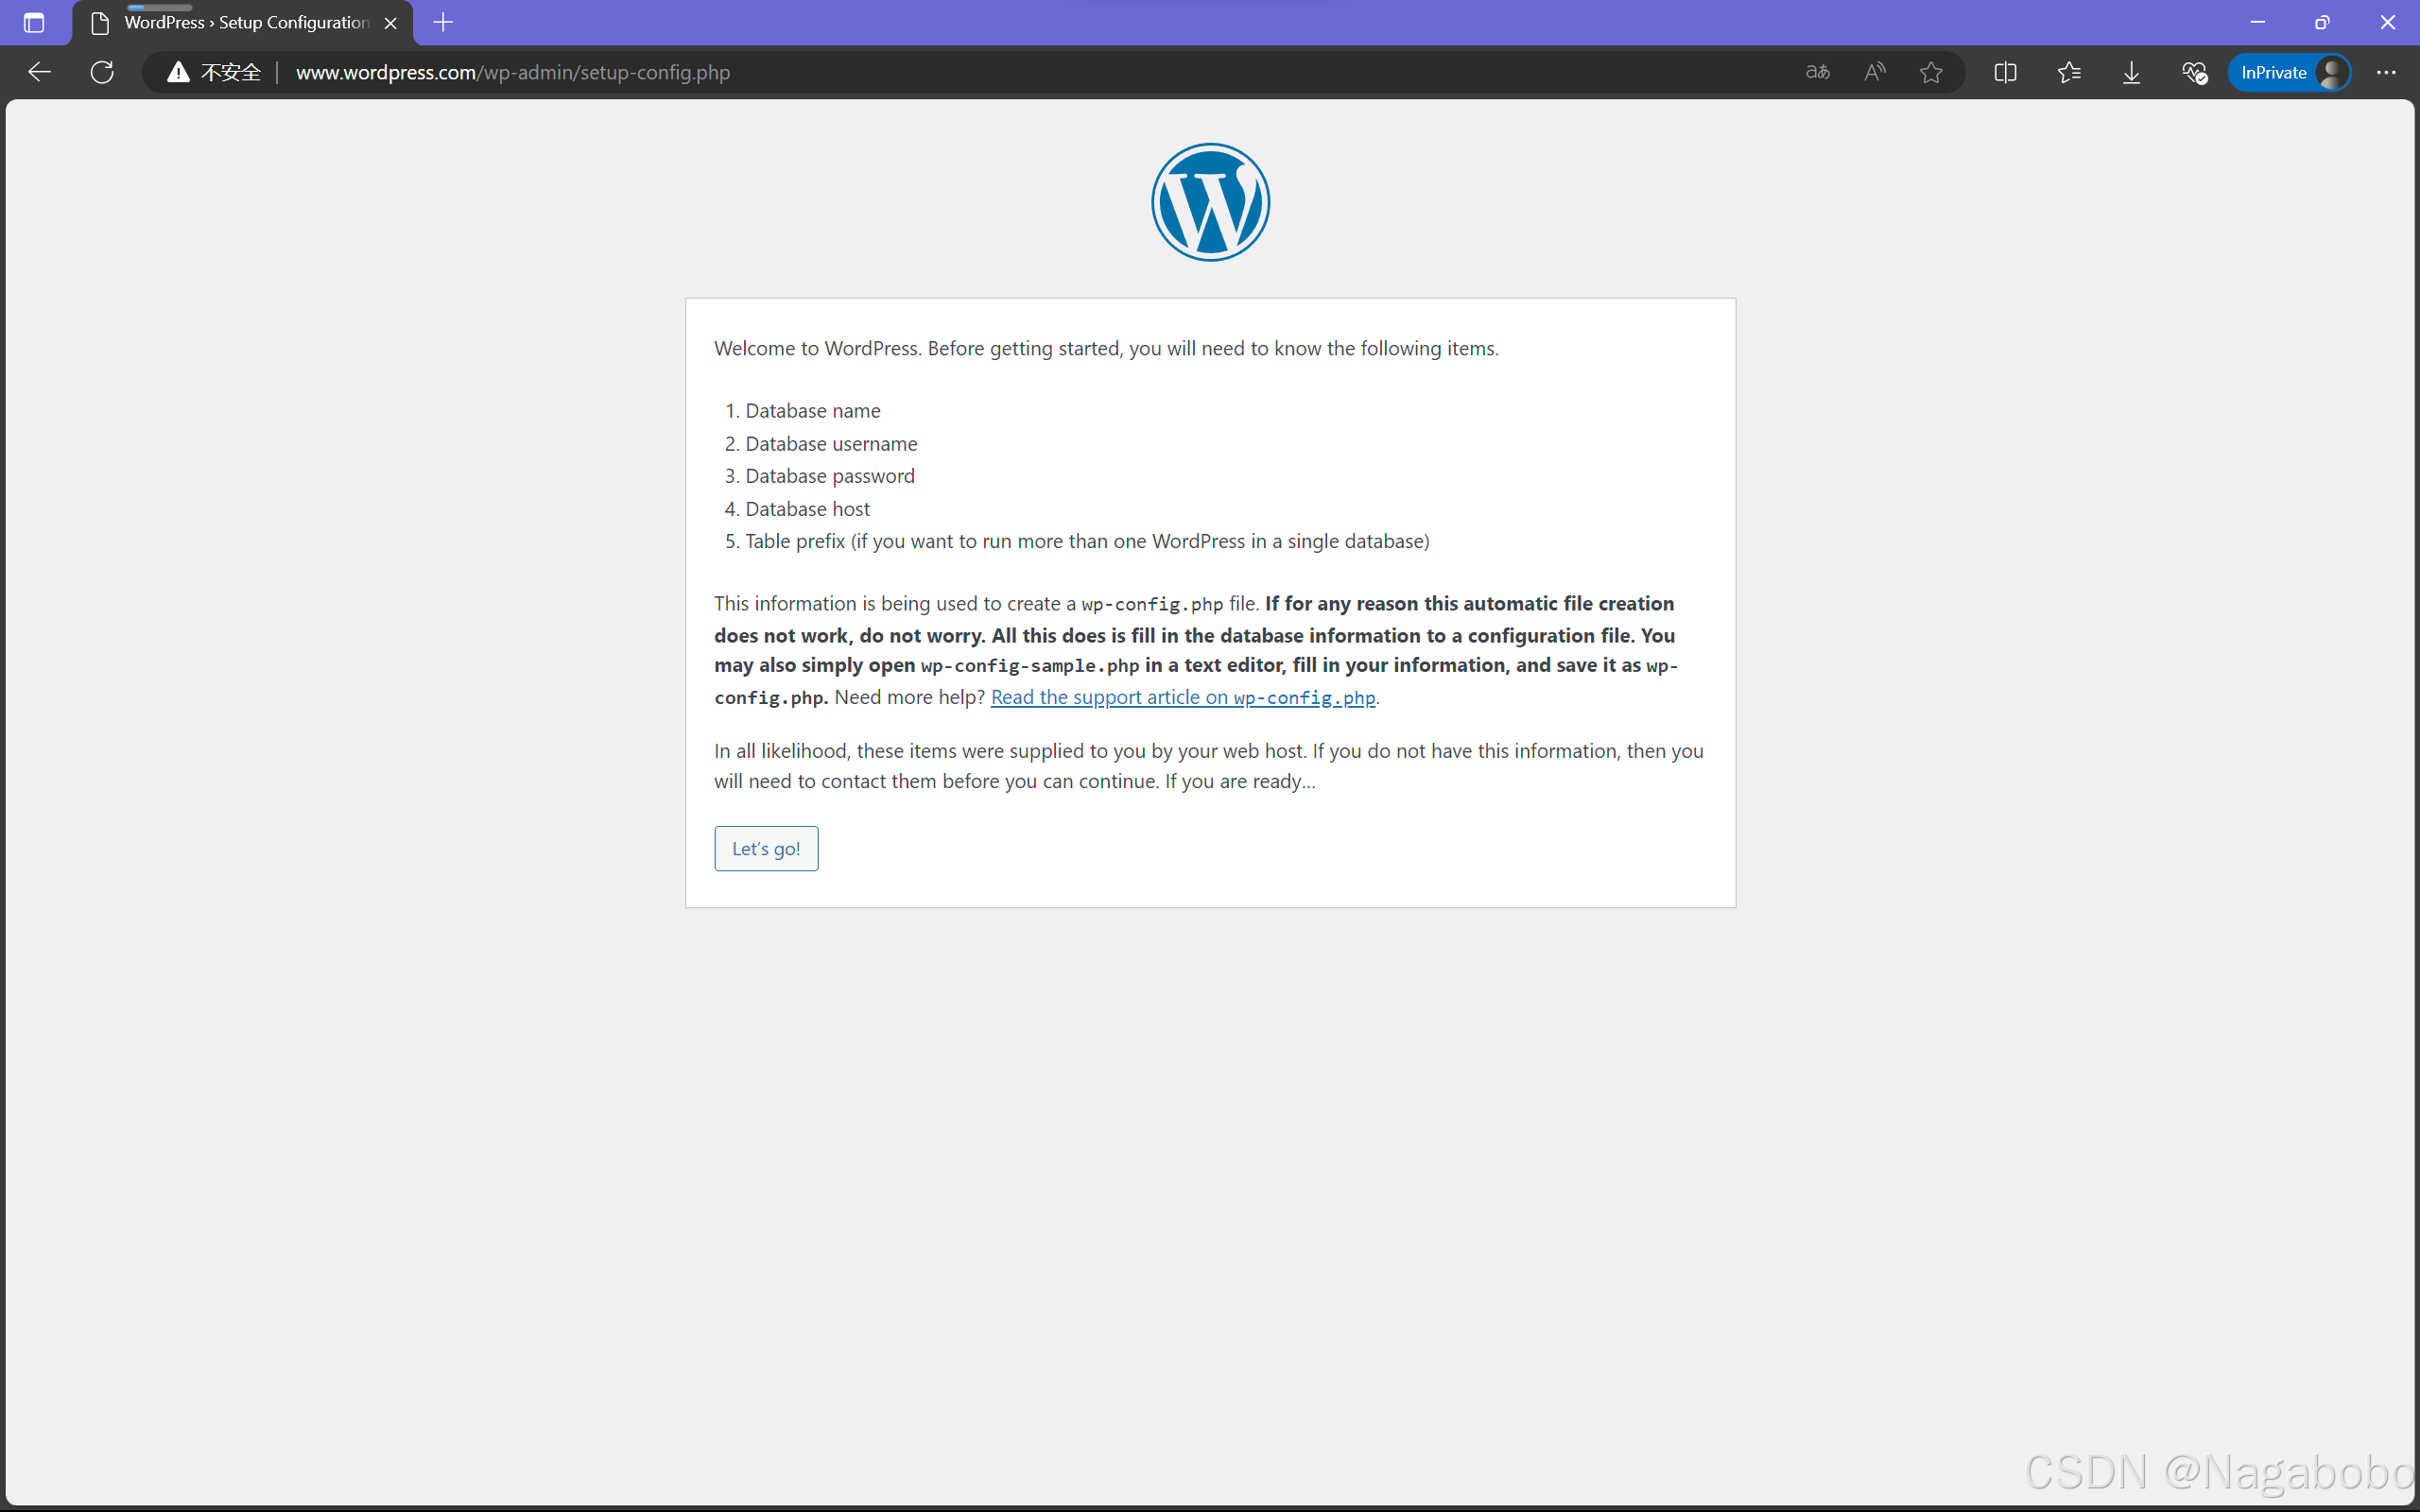
192.168.1.200 www.wordpress.com访问域名www.wordpress.com,即可看到WordPress的安装页面。
4.3数据库配置
create database wordpress;                                                                #创建数据库
create user 'wordpress'@'%' identified by 'wordpress123';                                 #创建用户,该用户是WordPress用于访问数据库服务器的用户
alter user 'wordpress'@'%' identified with mysql_native_password by 'wordpress123';
grant all privileges on wordpress.* to 'wordpress'@'%';                                   #授予该用户所有权限
flush privileges; #刷新策略 
Database Host:数据库服务器地址
Tabel Prefix:数据表的前缀是什么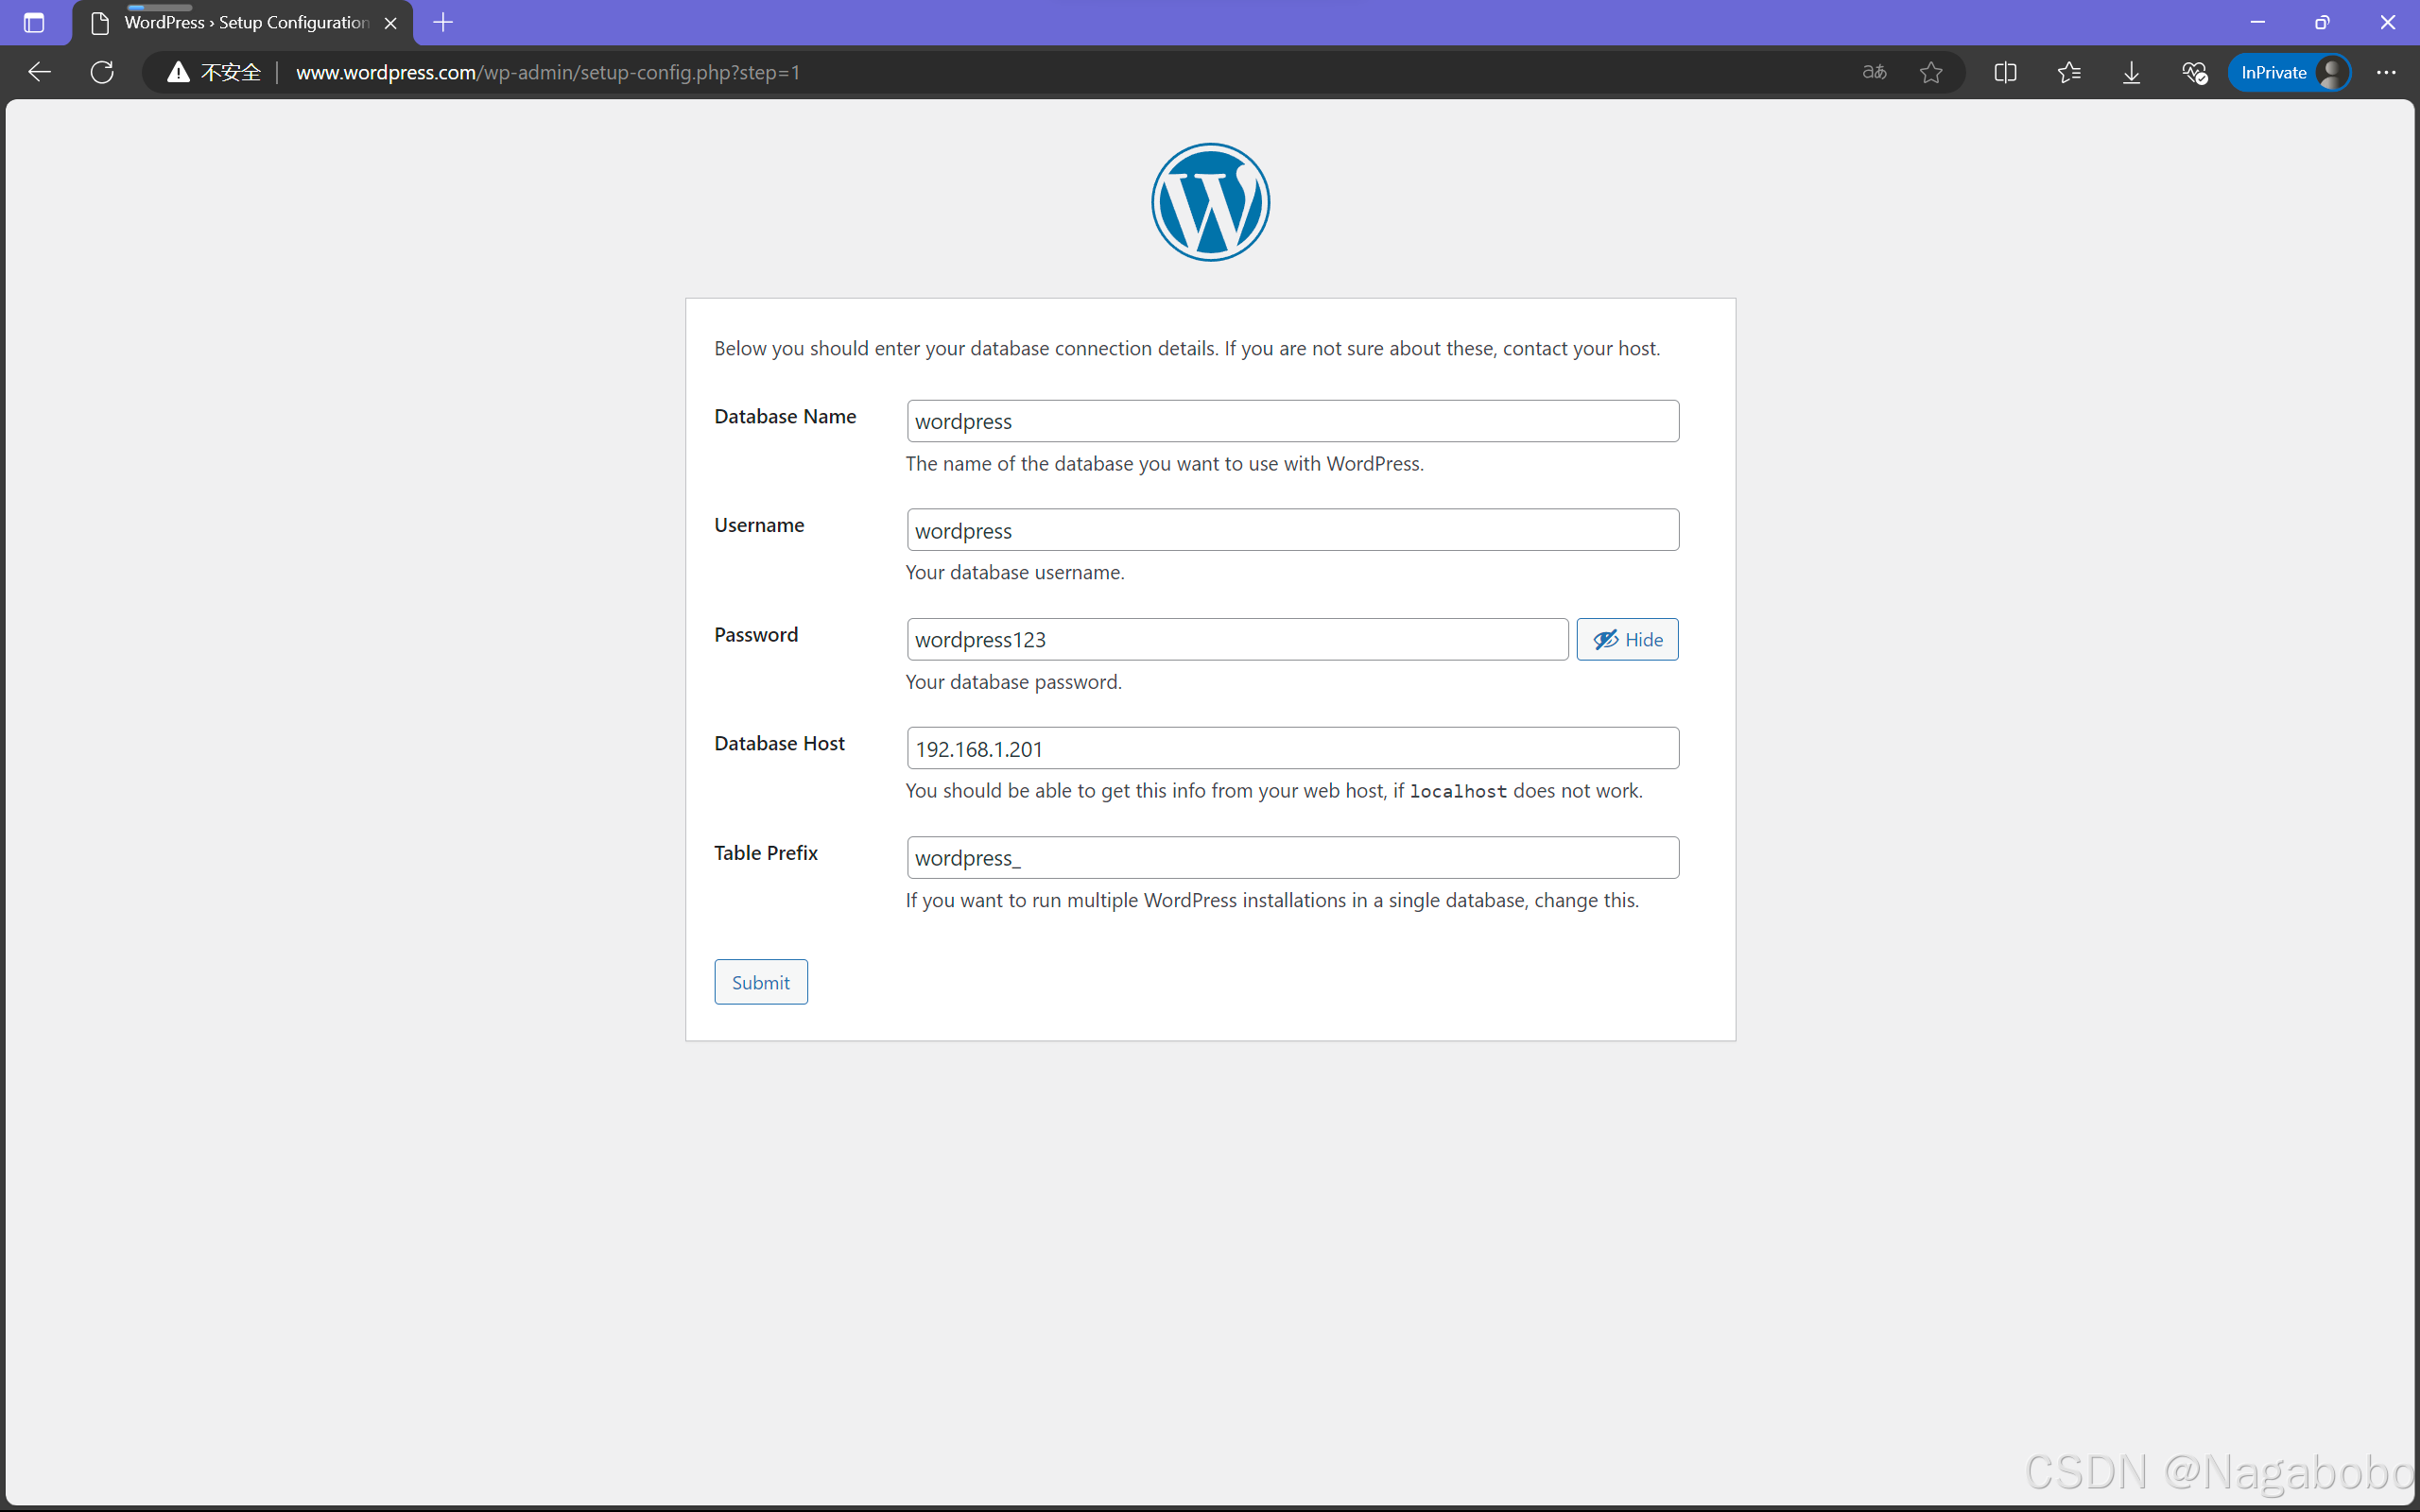
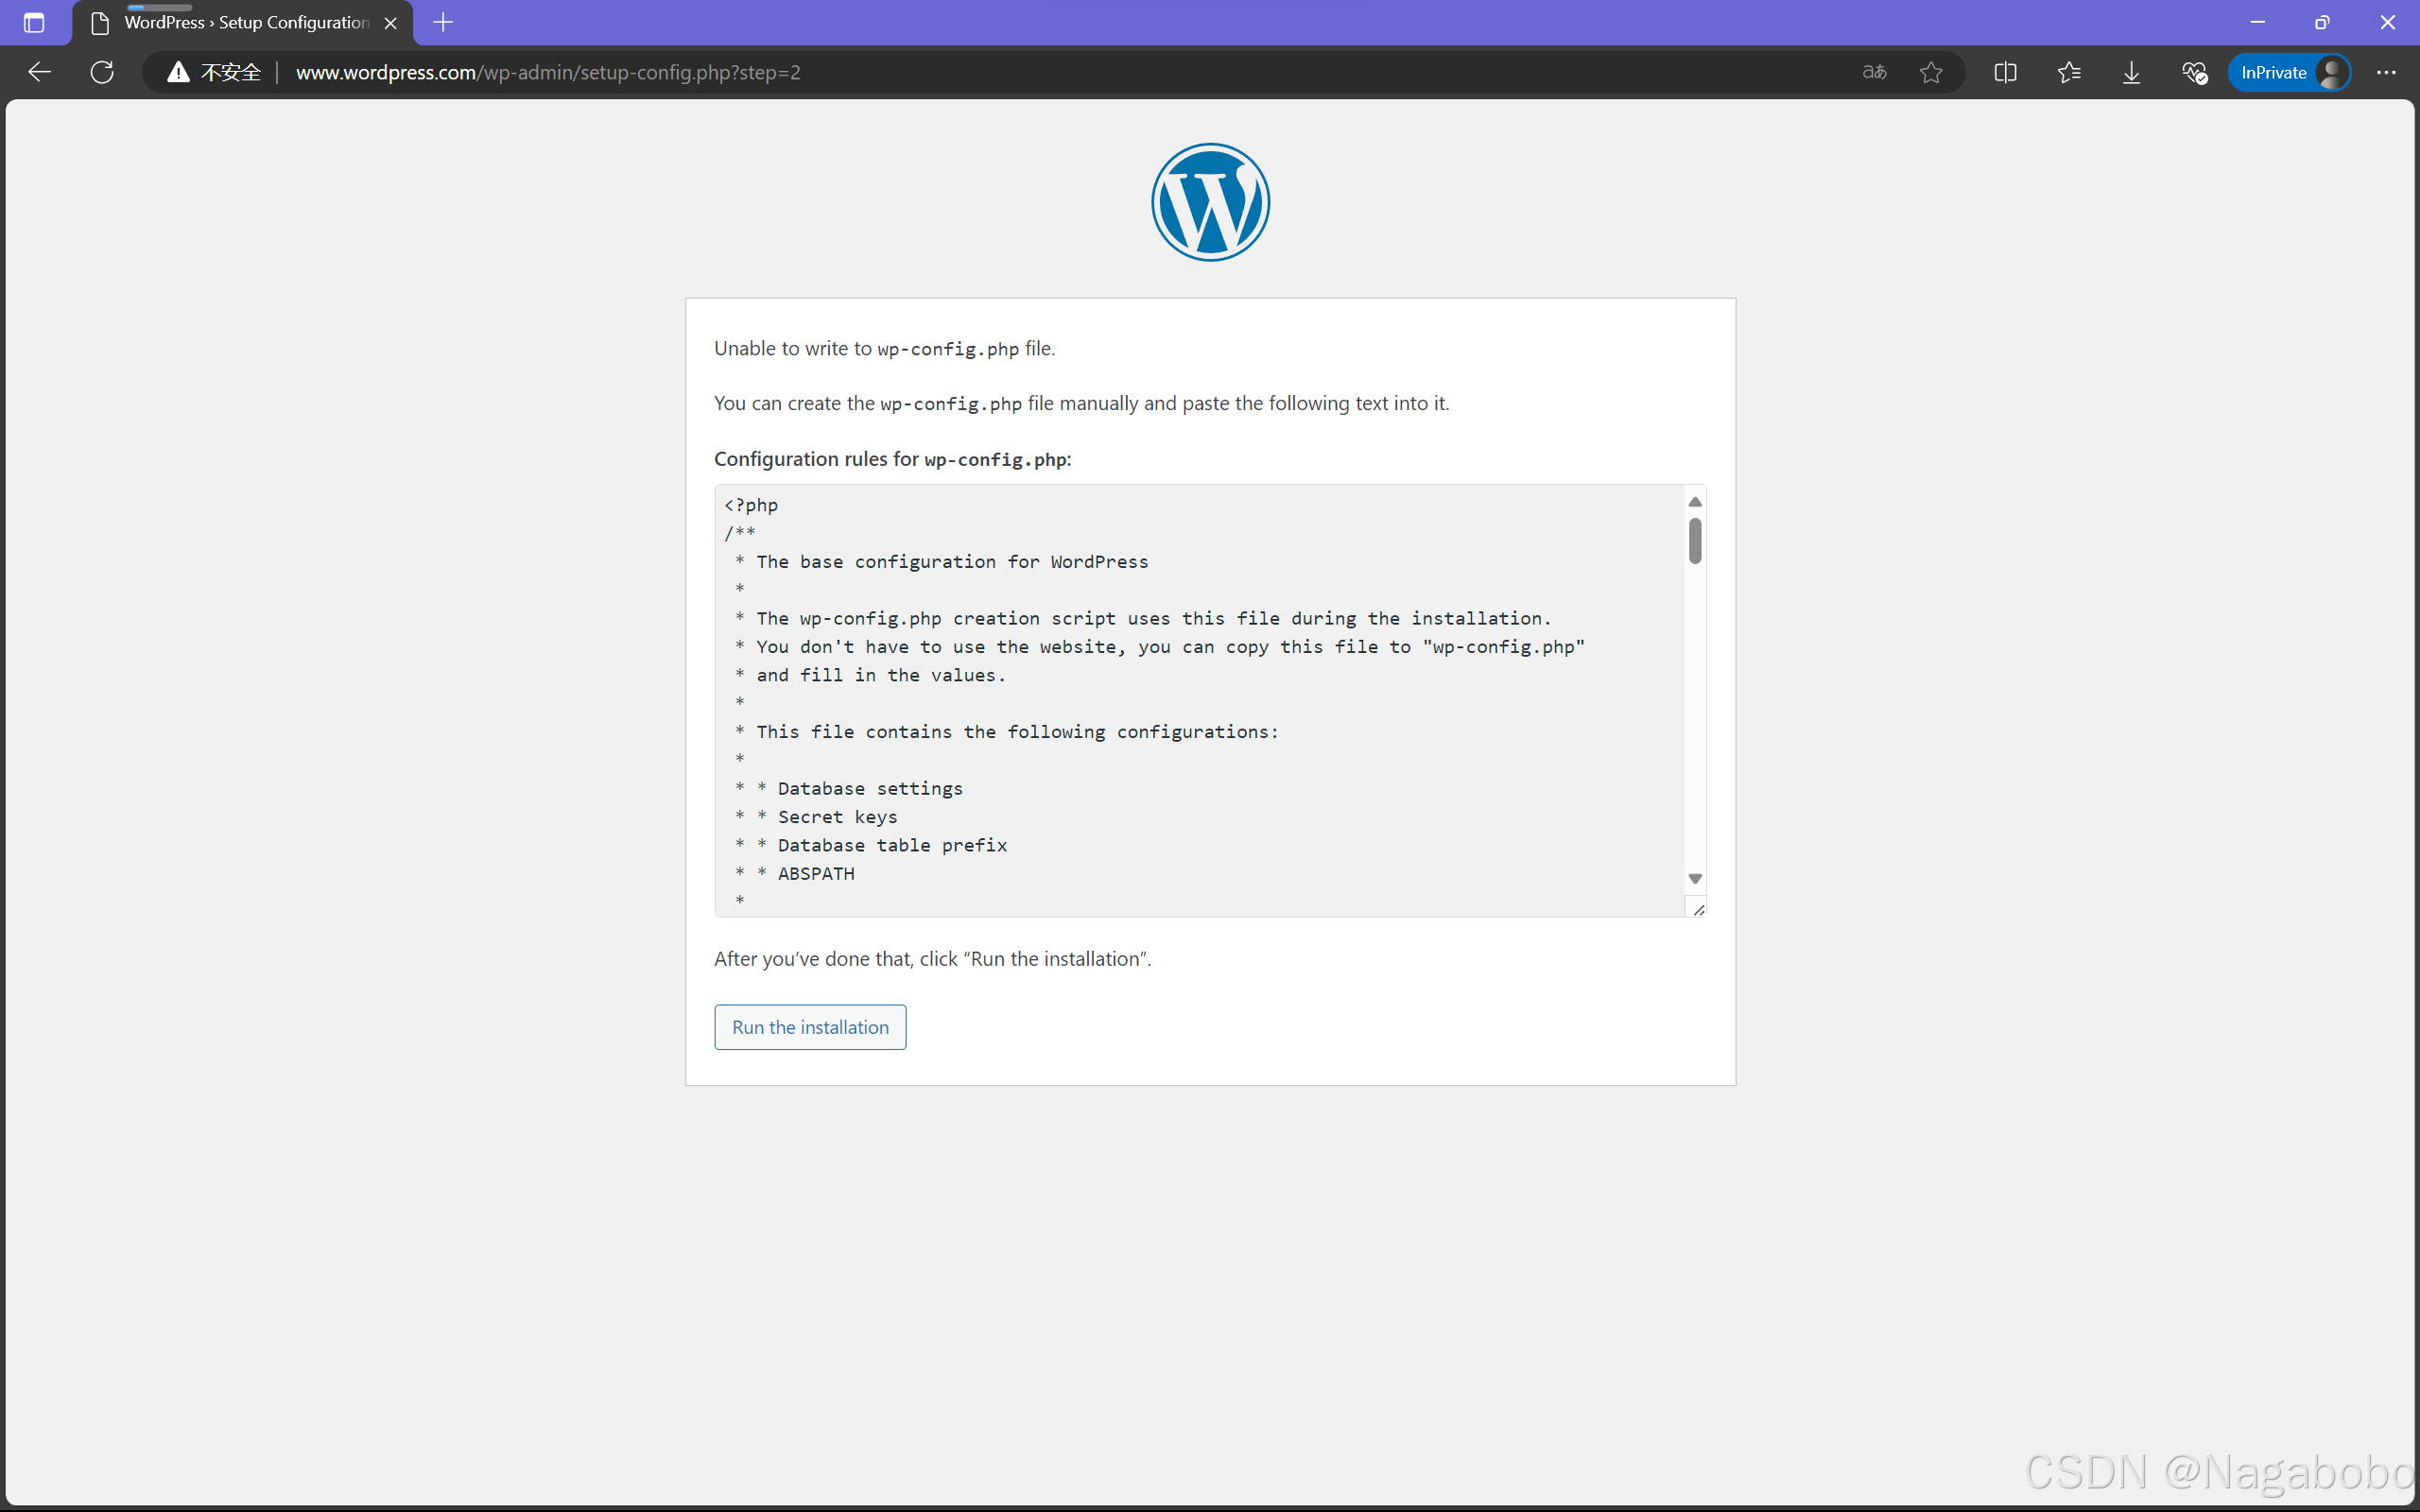
根据要求进行配置,将框内的内容复制到mp-config.php文件中。
mp-config.php文件需手动创建,在你的WordPress目录下即可。
192.168.1.200
cd /wordpress
vim wp-config.php
<?php
/**
* The base configuration for WordPress
*
* The wp-config.php creation script uses this file during the installation.
* You don't have to use the website, you can copy this file to "wp-config.php"
* and fill in the values.
*
* This file contains the following configurations:
*
* * Database settings
* * Secret keys
* * Database table prefix
* * ABSPATH
*
* @link https://developer.wordpress.org/advanced-administration/wordpress/wp-config/
*
* @package WordPress
*/
// ** Database settings - You can get this info from your web host ** //
/** The name of the database for WordPress */
define( 'DB_NAME', 'wordpress' );
/** Database username */
define( 'DB_USER', 'wordpress' );
/** Database password */
define( 'DB_PASSWORD', 'wordpress123' );
/** Database hostname */
define( 'DB_HOST', '192.168.1.201' );
/** Database charset to use in creating database tables. */
define( 'DB_CHARSET', 'utf8mb4' );
/** The database collate type. Don't change this if in doubt. */
define( 'DB_COLLATE', '' );
/**#@+
* Authentication unique keys and salts.
*
* Change these to different unique phrases! You can generate these using
* the {@link https://api.wordpress.org/secret-key/1.1/salt/ WordPress.org secret-key service}.
*
* You can change these at any point in time to invalidate all existing cookies.
* This will force all users to have to log in again.
*
* @since 2.6.0
*/
define( 'AUTH_KEY', 'BL3$6G6c$6$hxfwuJ|=#OPd 7],s >r7Z2kQ Rlq06wk-p^nH*73lx-=JC7k8?~' );
define( 'SECURE_AUTH_KEY', ' {&g(UMToLXybJy!d%UG<Y%2YSlqF{M|NCfxemc1RGdmJS8zmWmlGOQ2.u?^imNP' );
define( 'LOGGED_IN_KEY', '@*/O1Q8Rx;8rZ?y!<YX*oYij|d}0,1fg|e}qyp2Vt<$0HK`7ka2^bg i_N=RW!,*' );
define( 'NONCE_KEY', 'M],:Wcvdo_lb]6gL5!`y(w|mS$s9]Y;;@`3vQlp|tX6q7F4x!Aq-ej>xup5H&jYY' );
define( 'AUTH_SALT', 'K+LmI;{^Vil}l}3vmIVD4N.</wB@W$j@@ [vQrDAr)pf>>HzUtB.#Yw!JW^]`*8F' );
define( 'SECURE_AUTH_SALT', 'q7j:VgNDOmiJ,9=)=lc8hB@40F<Q4&t@H1z#:l=ELx/iy2*Bp/TCr@+u16i1AFa[' );
define( 'LOGGED_IN_SALT', '*)HbgI+2fy11UUR.8>DSzoWkJK;@8#vY%+*^!]rSL`qBZ}.i<m|_XaW3aKJFx+//' );
define( 'NONCE_SALT', 'EHWmaemSjuUFZ#e&1fYmki.|;6w=5T<<hae+{(^N,}-koi27[?}`S6A1S5Z:3z0 ' );
/**#@-*/
/**
* WordPress database table prefix.
*
* You can have multiple installations in one database if you give each
* a unique prefix. Only numbers, letters, and underscores please!
*
* At the installation time, database tables are created with the specified prefix.
* Changing this value after WordPress is installed will make your site think
* it has not been installed.
*
* @link https://developer.wordpress.org/advanced-administration/wordpress/wp-config/#table-prefix
*/
$table_prefix = 'wordpress_';
/**
* For developers: WordPress debugging mode.
*
* Change this to true to enable the display of notices during development.
* It is strongly recommended that plugin and theme developers use WP_DEBUG
* in their development environments.
*
* For information on other constants that can be used for debugging,
* visit the documentation.
*
* @link https://developer.wordpress.org/advanced-administration/debug/debug-wordpress/
*/
define( 'WP_DEBUG', false );
/* Add any custom values between this line and the "stop editing" line. */
/* That's all, stop editing! Happy publishing. */
/** Absolute path to the WordPress directory. */
if ( ! defined( 'ABSPATH' ) ) {
define( 'ABSPATH', __DIR__ . '/' );
}
/** Sets up WordPress vars and included files. */
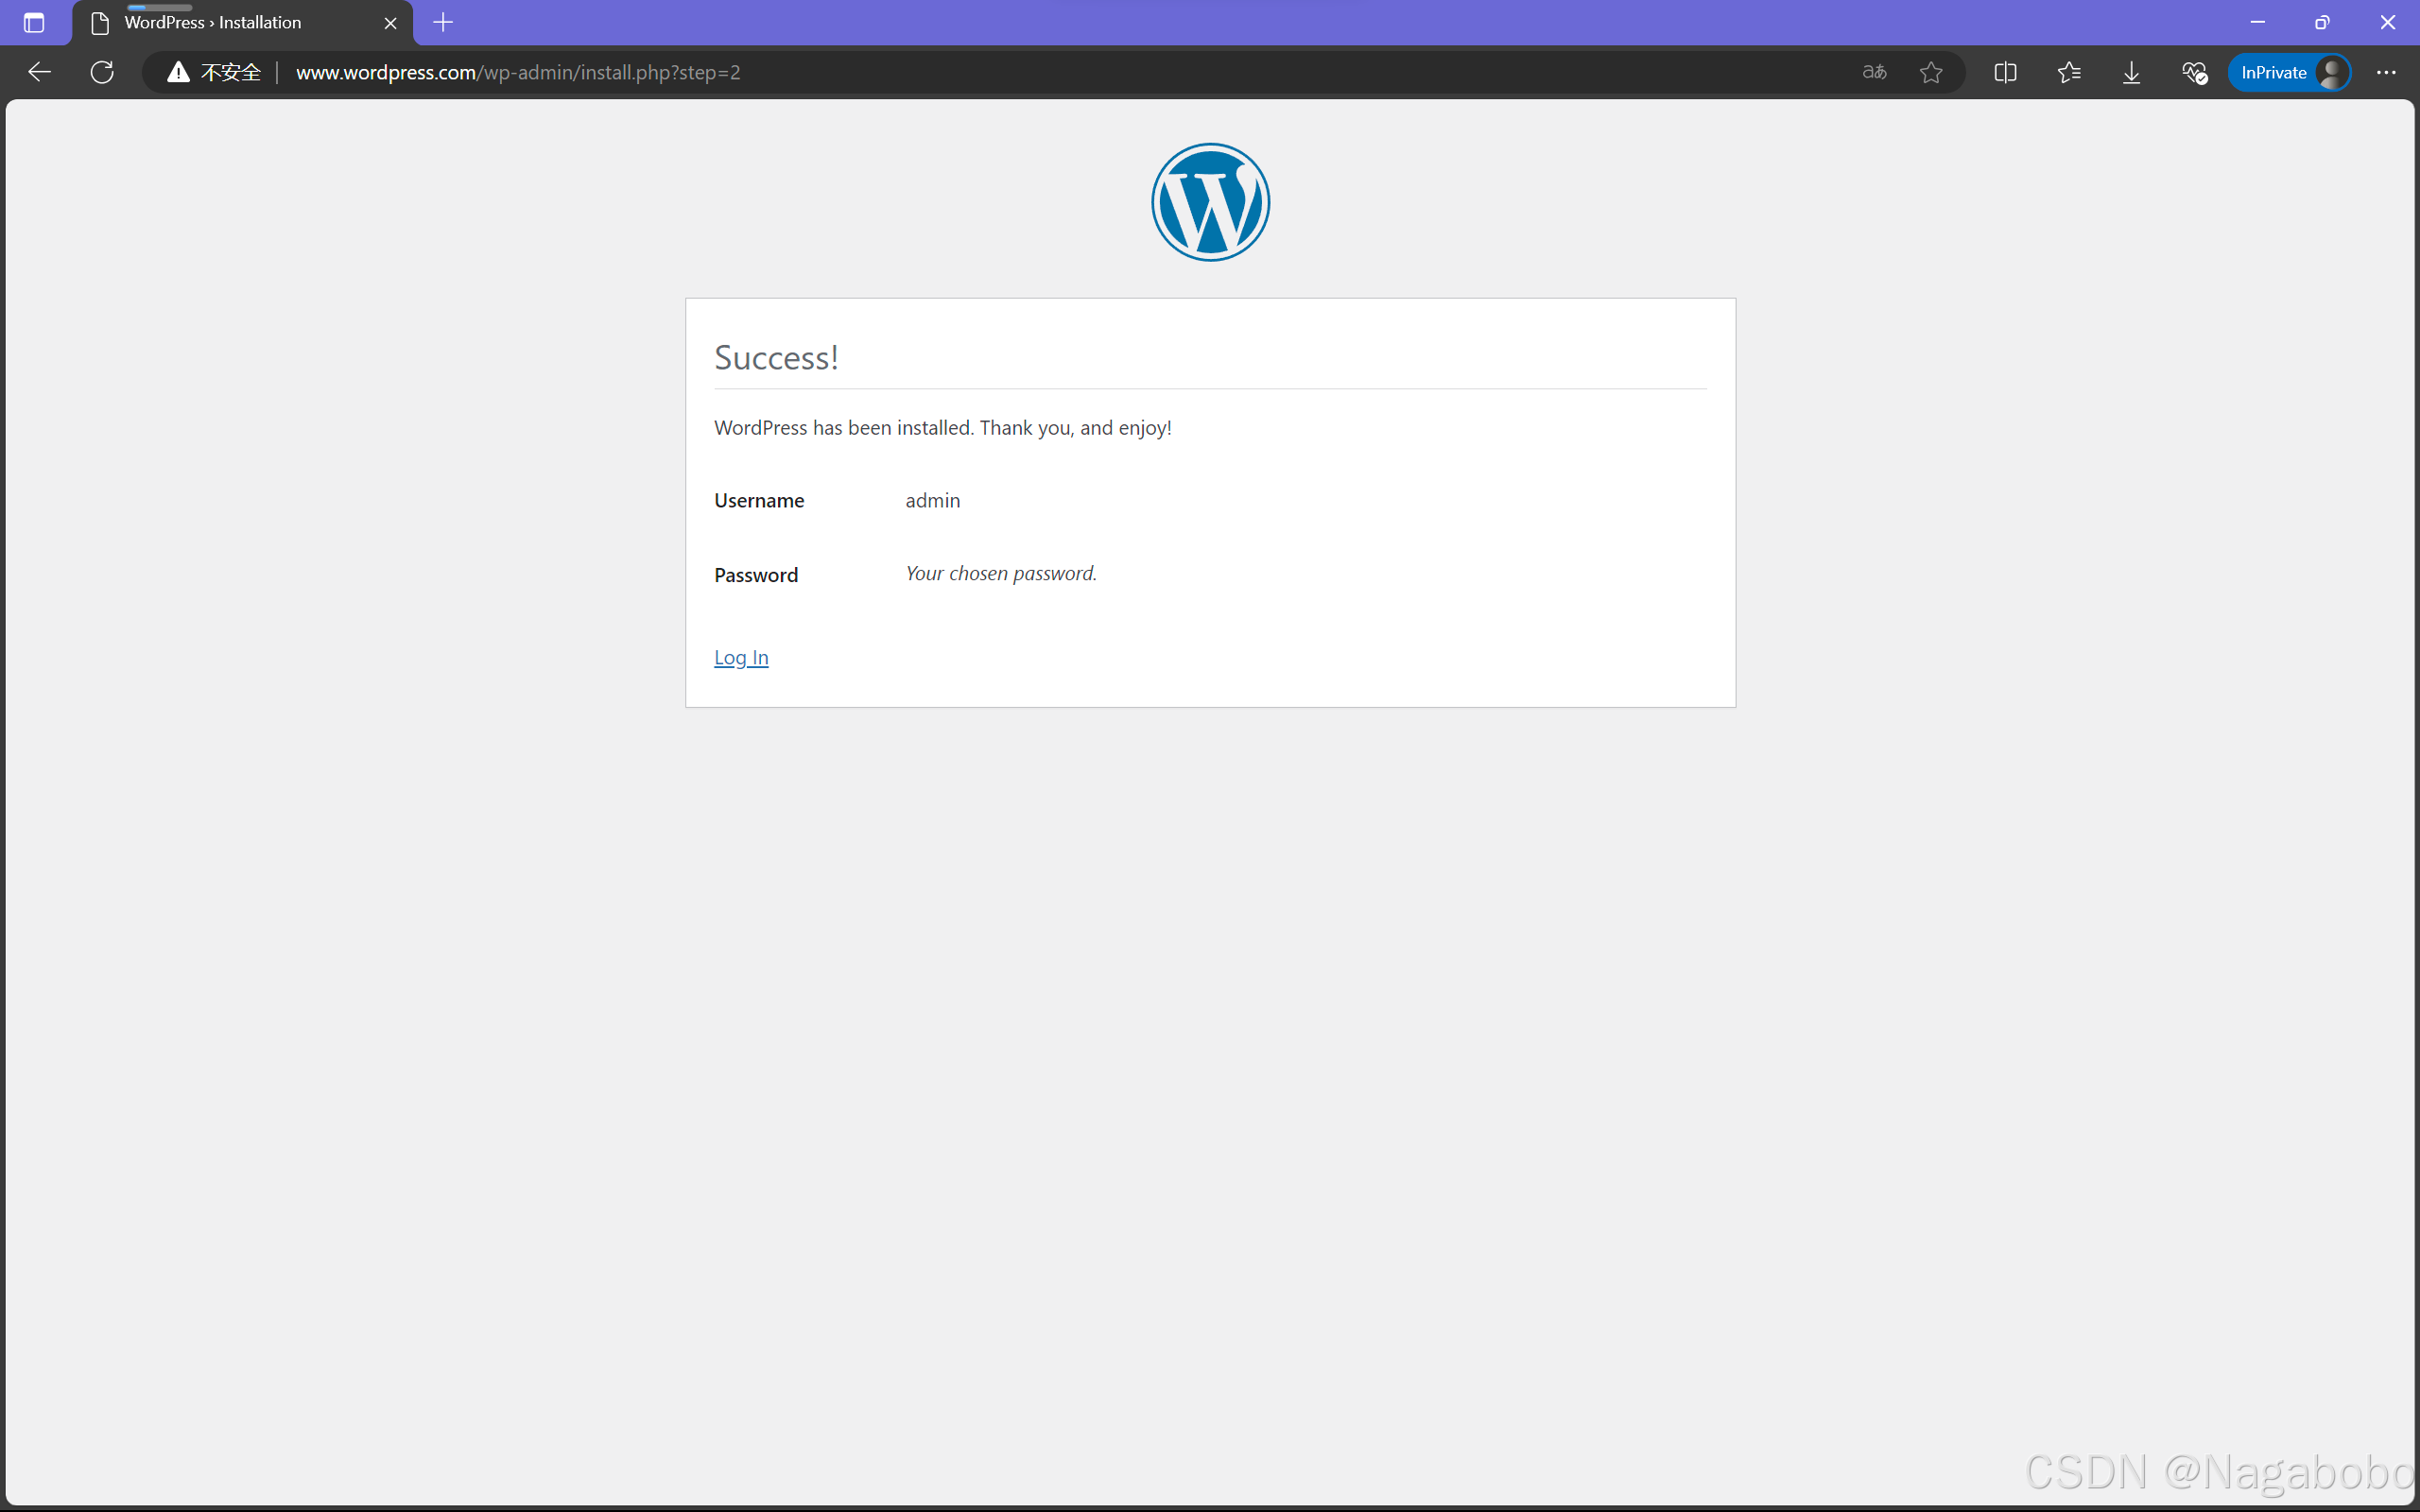
require_once ABSPATH . 'wp-settings.php';完成点击run the installation进入下一步。
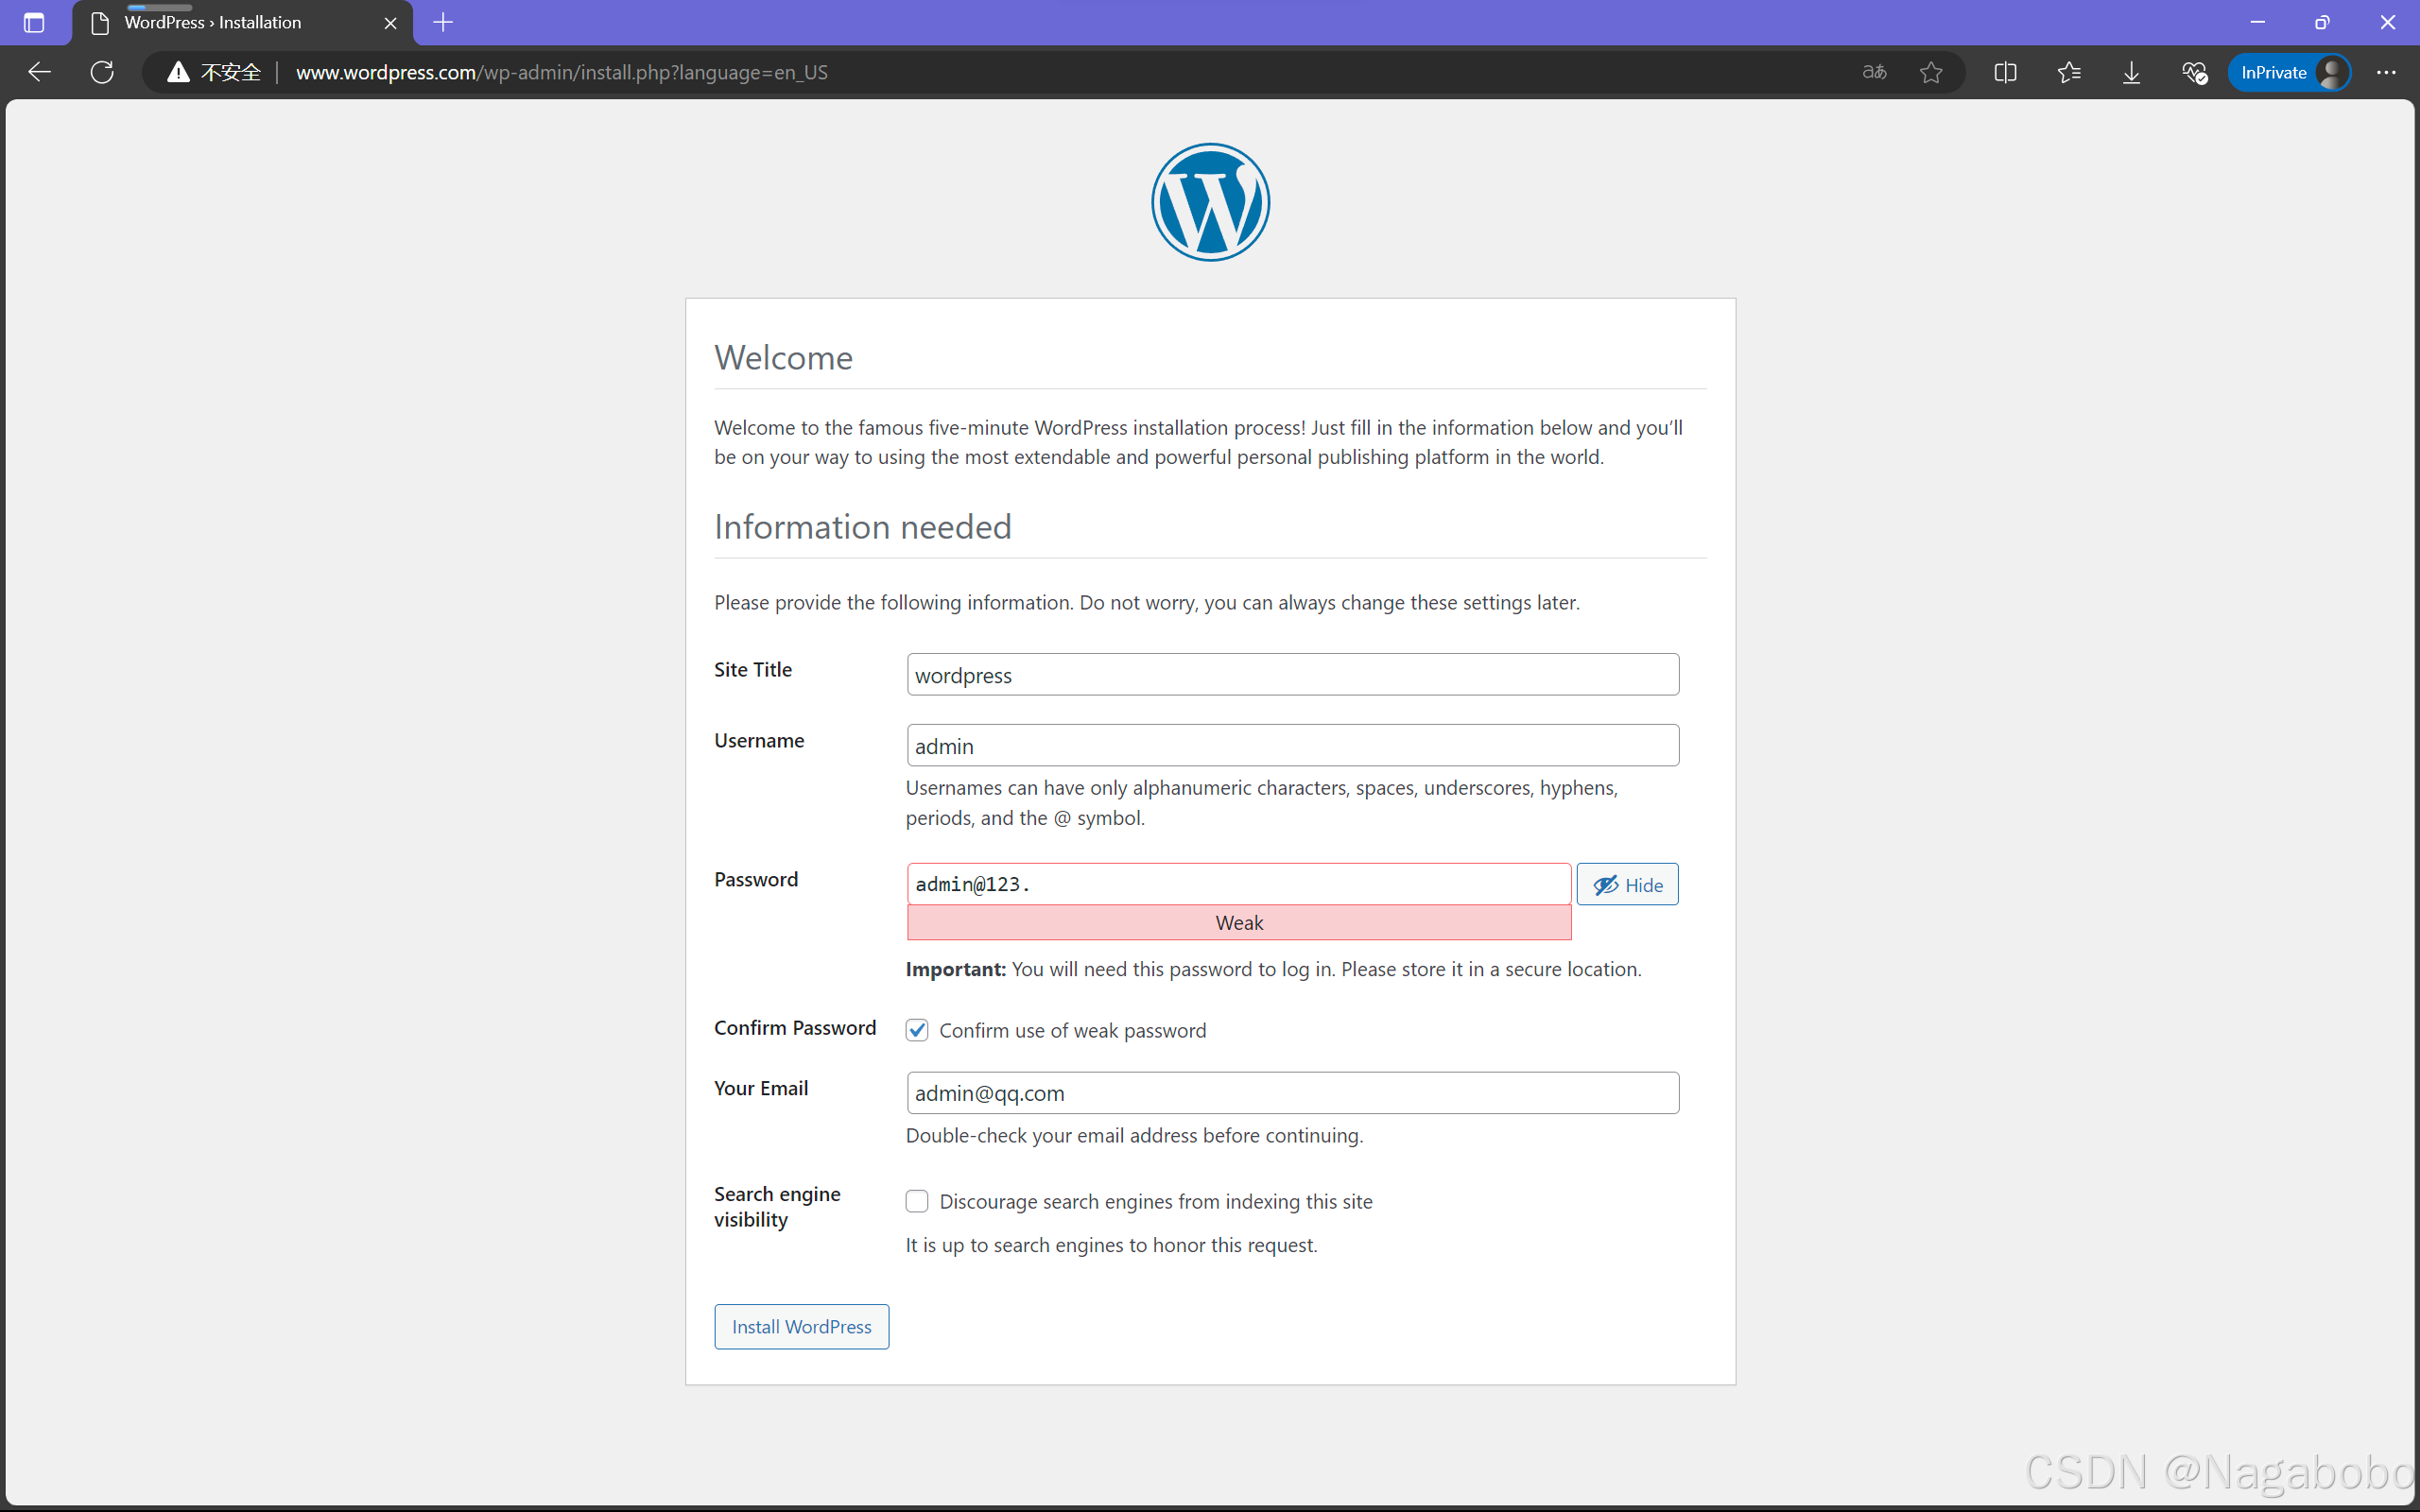
4.4wordpress基本信息填写
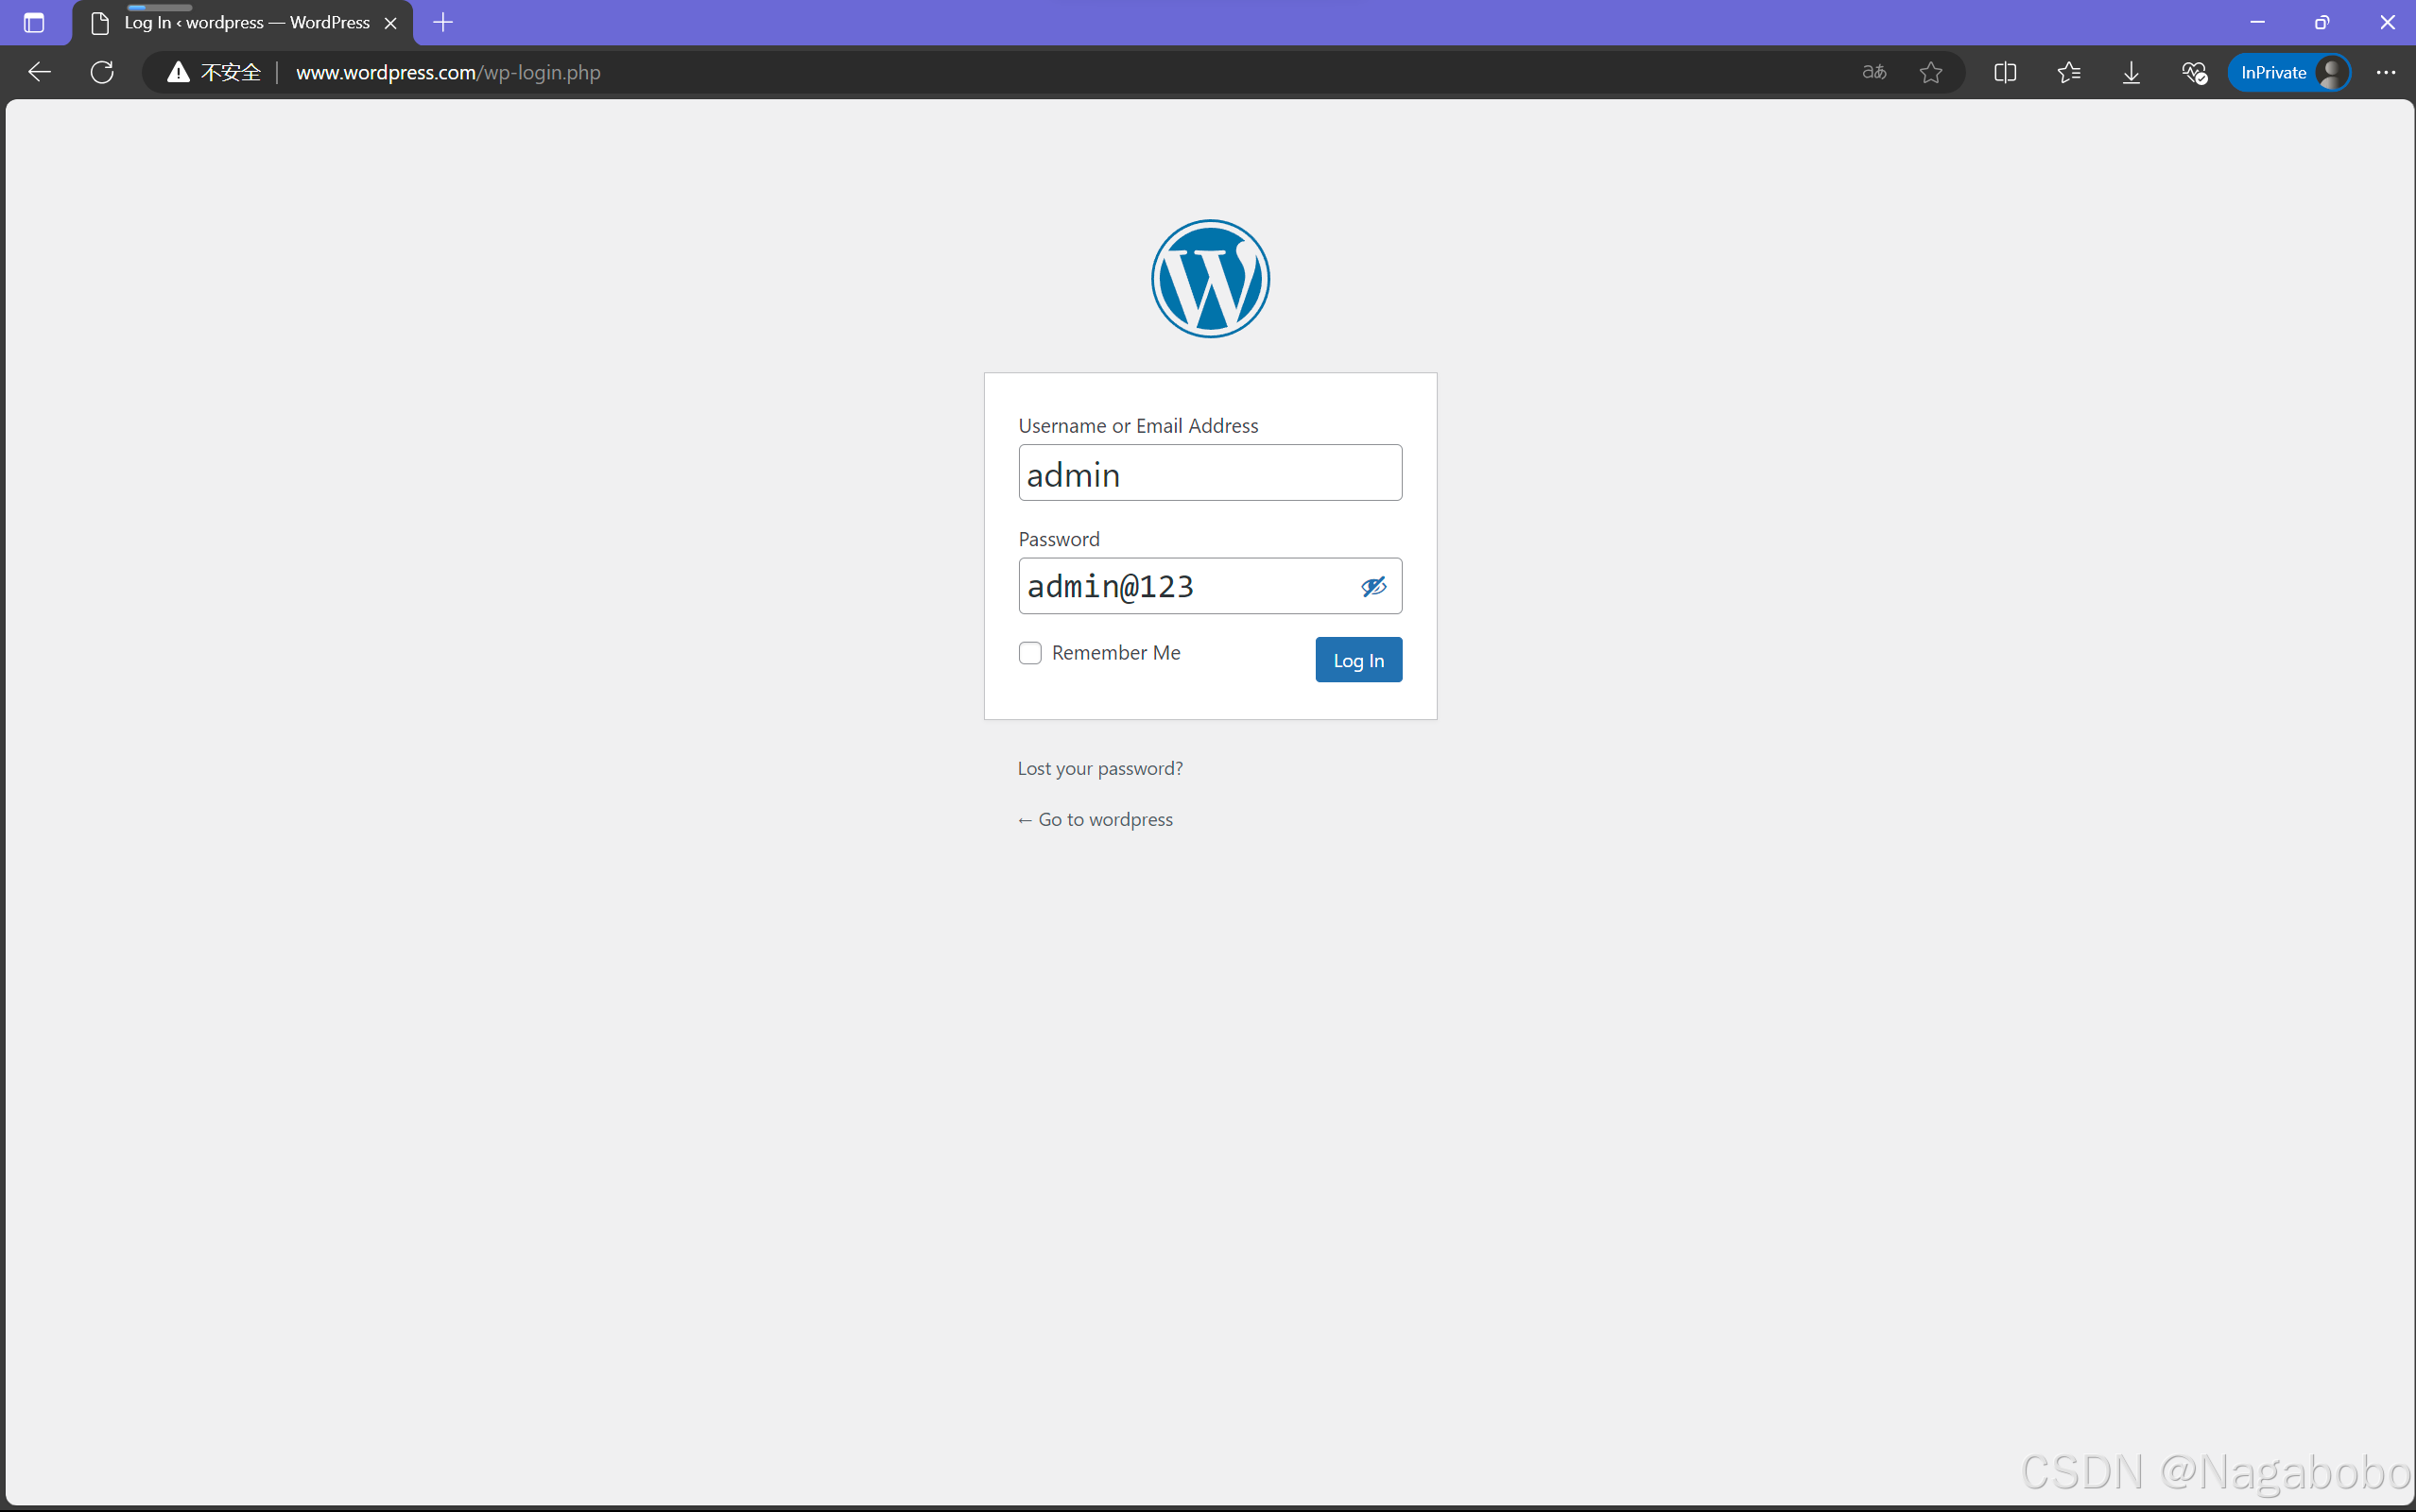
设置标题,管理员账户,密码,邮箱。
设置的密码为弱密码,会出现confirm password选项,需要勾选。
设置的密码为强密码,不会出现confirm password选项。


鲲鹏昇腾开发者社区是面向全社会开放的“联接全球计算开发者,聚合华为+生态”的社区,内容涵盖鲲鹏、昇腾资源,帮助开发者快速获取所需的知识、经验、软件、工具、算力,支撑开发者易学、好用、成功,成为核心开发者。
更多推荐


 3
3 0
0- 0


 已为社区贡献3条内容

所有评论(0)